Felt Crafts for Beginners: Supplies, Basic Stitches & Your First Felt Project
Hello hello! Today I’m starting something new on the blog: felt crafts!
If you’ve been around for a while, you know I’m a little obsessed with beading right now. But lately I keep falling down the rabbit hole of tiny felt plushies, felt keychains and just basically anything with felt… and I just couldn’t resist anymore lol. Felt is soft, colorful, forgiving, and you don’t need a sewing machine at all. Everything is sewn by hand!
So in this article, I’ll walk you through the basics: which felt to choose, the supplies you actually need, the three stitches you’ll use for almost everything, and a super easy first project so you can try it today.
What Can You Make With Felt?
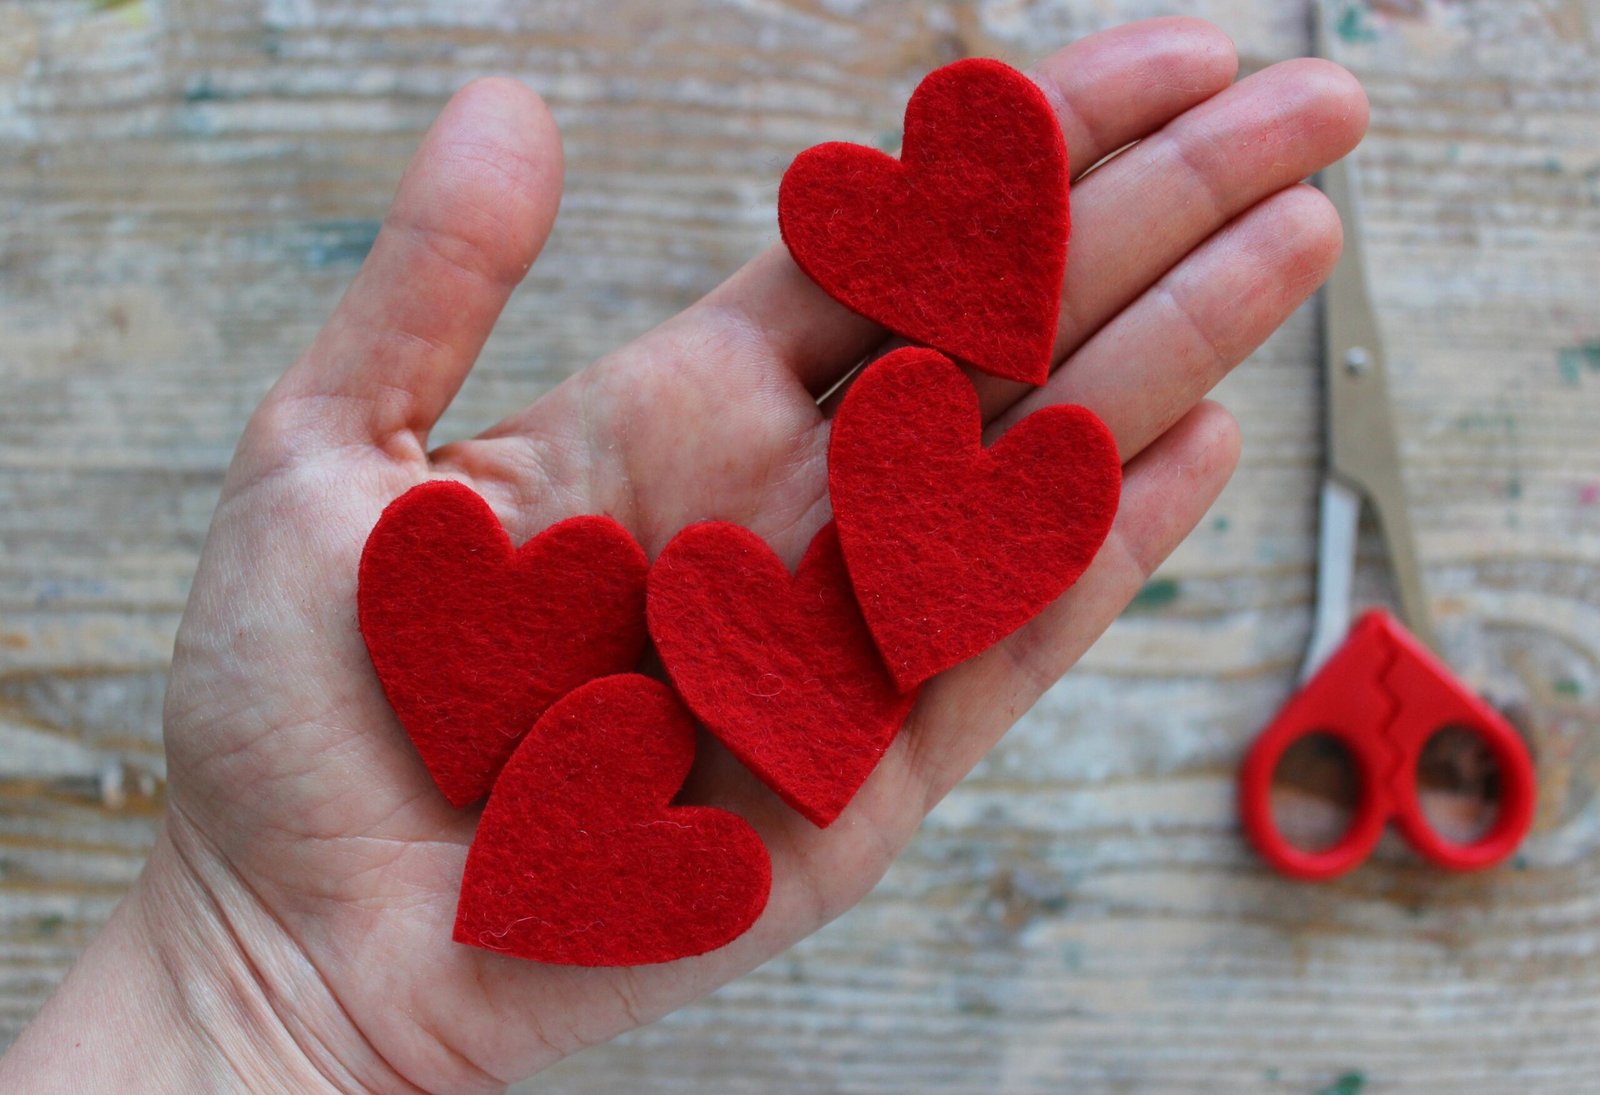
Honestly, so many things. But the kind of felt crafts I love (and the ones I’ll focus on here) are the small, cute ones:
- Felt plushies – small, flat-ish characters, lightly stuffed so they’re a little puffy
- Felt keychains and bag charms – basically mini plushies with a ring attached
- Felt appliqué – layering pieces of felt on top of each other to make a little picture or scene (felt cards, frames, wall decor…)
- Felt ornaments – perfect for Christmas, but also for any season really
The good news is that all of these use the exact same basic skills. Learn them once, and you can make all of it!
Which Felt Should You Use? (Acrylic vs Wool, Hard vs Soft)
This is THE question everybody asks when they start, and it does make a big difference. There are three main types:
Acrylic (craft) felt
This is the cheap felt you find in craft stores and dollar shops, usually in packs of sheets with lots of colors. It’s perfect for practicing and for decorations that won’t be touched much. The downside: it gets fuzzy and pills quickly, it can stretch out of shape, and the edges are less clean when you cut it.
Wool blend felt
A mix of wool and rayon (or another fiber). It’s softer, thicker, cuts much more cleanly and holds up way better over time. It costs more, but it’s the sweet spot for most projects in my opinion, especially anything that will be handled a lot, like keychains.
100% wool felt
The fanciest (and most expensive) one. It’s dense, soft and beautiful, but honestly you don’t need it to start.
Hard felt vs soft felt
There’s one more thing to check when you buy felt, and nobody tells you about it at the beginning: some felt is soft and some is hard (also called stiff or stiffened felt). And it has nothing to do with the material: you can find acrylic felt in both versions. The easiest way to tell them apart? Bend a corner. Soft felt bends like fabric, hard felt resists a bit and feels almost like thin cardboard.
Soft felt is flexible and squishy. It curves nicely around stuffing, the needle goes through easily, and it doesn’t crease when you bend it. This is the one you want for anything sewn and stuffed: plushies, keychains, puffy charms and ornaments. The downside is that big flat pieces can stretch or lose their shape a little.
Hard felt holds its shape on its own and gives super crisp, clean edges when you cut it, even for tiny details. That makes it perfect for flat projects: layered felt pictures (appliqué), photo frames, cards, bookmarks, coasters, garlands, or the flat backing of a brooch. But it’s harder to sew through, it can wrinkle if you fold it, and it doesn’t curve well around stuffing, so stuffed plushies end up stiff and boxy.
| Soft felt | Hard felt | |
|---|---|---|
| Feels like | Fabric, flexible | Thin cardboard, holds its shape |
| Cutting | Easy, edges can be a bit fuzzy | Very clean, crisp edges |
| Sewing | Easy, needle glides through | Harder, needs a sharp needle |
| Stuffing | Curves nicely, looks puffy | Stays stiff and boxy |
| Best for | Plushies, keychains, charms, stuffed ornaments | Appliqué pictures, frames, cards, bookmarks, coasters, garlands |
And you can totally mix both in one project! For example, a felt picture frame can use hard felt for the frame itself (so it stays flat and straight) and soft felt for the little decorations on top.
My advice: practice your stitches on cheap acrylic felt, then switch to wool blend for the projects you want to keep. Pick soft felt for anything you’ll stuff, and hard felt for anything that should stay flat. And for thickness, around 1 mm is easy to cut and sew for small pieces.
Felt Sewing Supplies: What You Actually Need
You don’t need a lot! Here’s the list:
- Felt – a few colors to start, you’ll collect more very quickly (trust me lol)
- Embroidery floss – the six-strand cotton thread. You’ll split it and only use 1 or 2 strands at a time for small pieces, so one skein lasts forever
- Embroidery needles – they have a bigger eye than regular sewing needles, so the floss goes through easily. Sizes 7 to 9 work well with 2 strands
- Small sharp scissors – for the tiny details like eyes and blush. Sharpness is everything here: dull scissors chew the felt and give fuzzy edges. If you can, get a small extra pair with slightly curved blades, they make round shapes and curves SO much easier to cut
- Bigger fabric scissors – for cutting the larger shapes (and please don’t use them on paper!)
- Something to transfer your pattern – freezer paper, printable sticky stabilizer, or a fabric marker
- Stuffing – polyester fiberfill. You only need a tiny bit for small plushies
- Optional: fabric glue, pins or small clips, a chopstick for stuffing, and keychain rings if you want to turn your creations into charms
How to Transfer a Pattern Onto Felt
Tracing directly on felt is hard because it’s fuzzy and soft, and small pieces move around. Here are the easiest methods:
- Freezer paper – draw or print your pattern on the matte side, cut around it loosely, then iron it on with the shiny side against the felt (keep the iron on low for acrylic felt!). Cut through both along your lines and peel the paper away. It’s my favorite for tiny pieces because nothing moves around.
- Printable sticky stabilizer – you print the pattern, stick it on the felt, cut through both, and for embroidered details you can even stitch through it and dissolve it in water afterwards.
- Paper template + fabric marker – the simplest method: cut out a paper template, hold it on the felt and trace around it. Cut just inside the line so the marks don’t show.
A little tip: if you use a heat-erasable pen, test it on a scrap first. The marks disappear with heat, but they can come back in the cold, so it’s better to cut them away completely.
How to Cut Felt Cleanly
- For long cuts, open your scissors wide and cut with the part of the blades closest to the handle. Save the tips for tiny details
- For curves, keep your scissors in place and rotate the felt little by little: the shape comes out so much rounder. This is also where small curved scissors really shine, they kind of follow the curve for you
- Try to cut in long, smooth movements. Lots of tiny snips leave little bumps all along the edge
- For very small pieces (eyes, cheeks), cut them out of a larger piece of felt that’s easier to hold, instead of a tiny scrap
The 3 Basic Hand Stitches for Felt
You can make almost every felt project with just these three (blanket stitch – whip stitch – running stitch!). For all of them, I use 2 strands of floss, and I start and finish the thread the way I explain just below.
Little tip for neat stitches: try to keep them all the same length, with the same space between them. It makes SUCH a difference: same stitches, but the result looks way cleaner. A small ruler helps a lot here (a seam gauge works great too), you can make tiny marks every 3 to 4 mm before you start, or just line it up as you go.
Before you start: how to secure your thread
Nothing is more frustrating than a stitch line coming undone, or a knot that slips right through the felt (felt is soft, so a tiny knot can totally pull through!). Here’s how I start:
- Cut a comfortable length. Around the length of your forearm (40 to 50 cm). Longer than that and it tangles and gets fuzzy from going through the felt over and over.
- Separate 2 strands from your floss and thread your needle.
- Make a chunky knot at the end. My favorite is the quilter’s knot: hold the end of the thread against the needle, wrap the thread around the needle 3 times, pinch the wraps between your fingers and pull the needle all the way through. You get a neat little knot that’s big enough not to slip through felt.
- Hide the knot. On a single layer (like appliqué), start from the back so the knot stays underneath. When you sew two layers together (plushies, keychains), start between the two layers and come out through one piece only: the knot ends up hidden inside your project.
- Optional extra security: make one tiny stitch in place right where you came out, before starting your stitch line. It anchors the thread so the knot never takes all the tension.
When you’re done: how to end your thread
Stop when you have about 10 to 12 cm of thread left. Any shorter, and tying a knot becomes a real fight lol. Then:
- Make a finishing knot close to the felt. On the back (or wherever it won’t show), slide your needle under a nearby stitch, pull until a small loop is left, pass the needle through that loop and pull tight. Do it twice for a secure knot. You can also place the needle flat against the felt, wrap the thread around it 2 times, and pull it through while holding the wraps down with your thumb.
- Hide the tail. Push the needle into the felt right next to the knot and bring it out a few centimeters away. On two layers or a stuffed plushie, go between the layers or through the stuffing. Pull gently until the knot “pops” inside.
- Trim the thread close to the felt. The end slips back inside and disappears!
And if you run out of thread in the middle of a seam, it’s the same thing: finish the old thread with a knot, hide it, then start a new one with a knot hidden between the layers, coming out in the same spot where you stopped.
1. Running stitch
The easiest one: you just go up and down through the felt in a line, making little dashes. It’s great for decorative lines (like a cat’s tail or a little stitched border) and for attaching flat pieces on top of each other. If you do it close to the edge around two layers, it also closes a plushie with a cute “handmade” look.
2. Whip stitch
This one goes over the edge of the felt: you always push the needle in from the same side, so the thread wraps around the edge in little slanted lines. It’s fast and solid, and it’s perfect for joining two pieces together or sewing small details on. Use a thread that matches your felt and it almost disappears.
3. Blanket stitch
The classic felt edge, and my favorite stitch of the three ♡ It looks like a little line running along the edge, with “legs” going into the felt. To make it, push the needle in from the front a few millimeters from the edge, so the tip pokes out above the edge at the back. Tuck the working thread under the needle tip (your finger helps here), then pull gently so the loop catches on the edge. Move a few millimeters and repeat. It takes a bit longer, but it’s sturdy and SO pretty, especially in a contrasting color.
Bonus: stitches for little faces
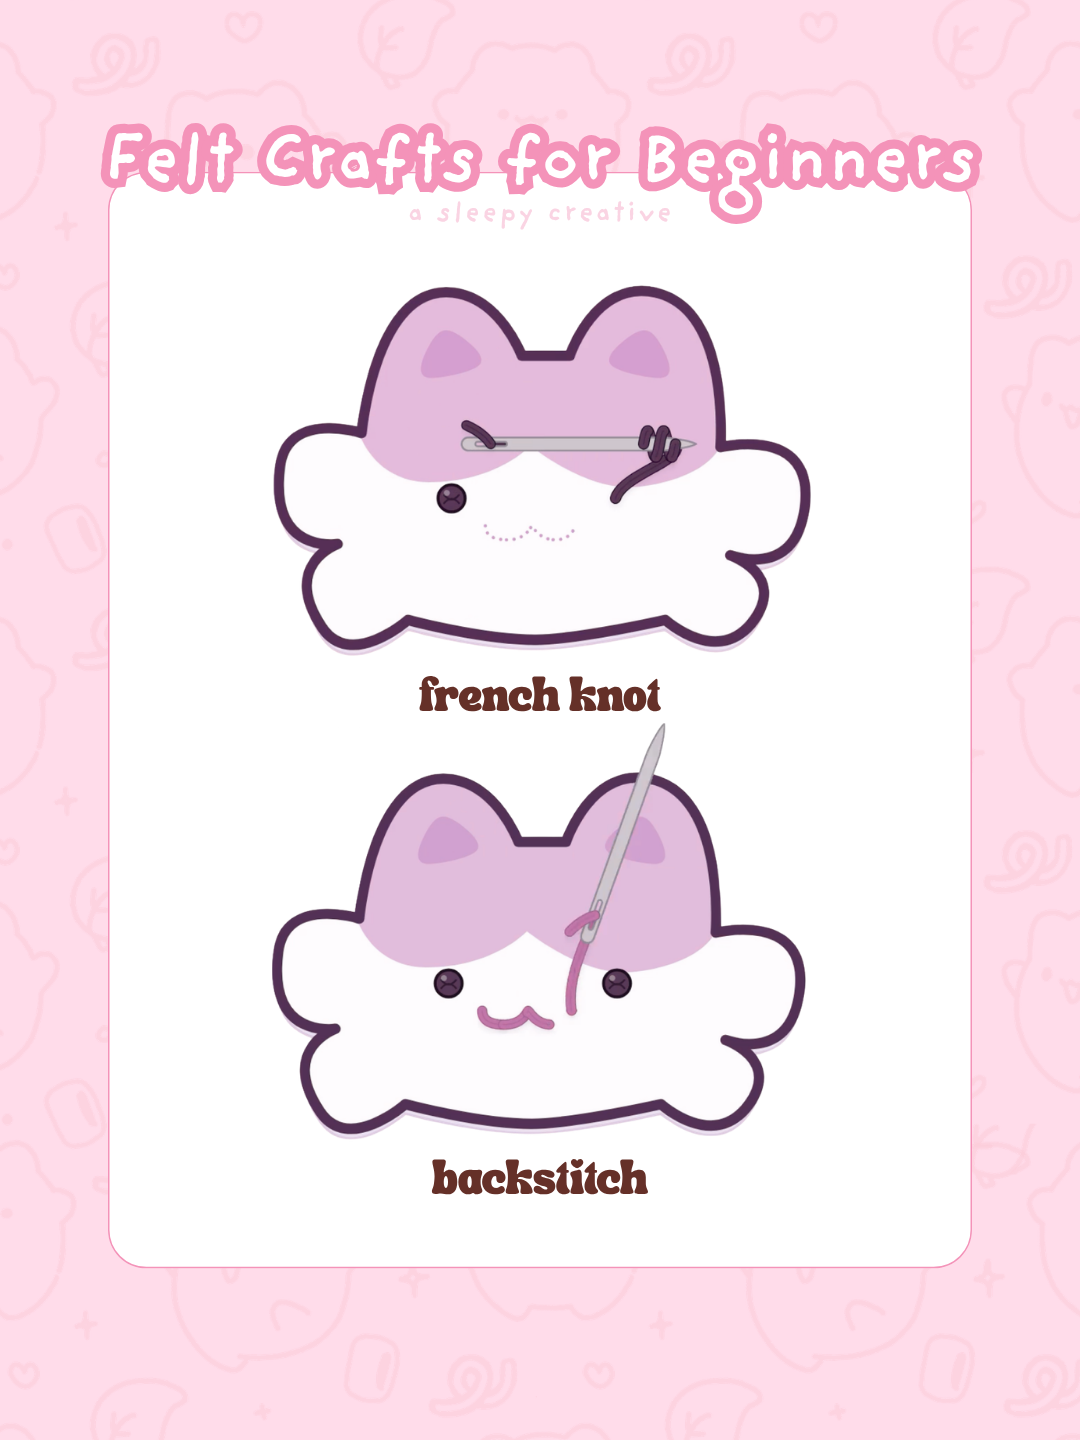
For eyes, mouths and tiny details, two more stitches are super useful: the backstitch (for smooth lines like a smile or eyebrows) and the French knot (for tiny round eyes).
You can also use tiny beads for the small details, like eyes, a little nose or some sparkles: just sew them on with a couple of stitches. It adds such a nice touch (and you know I can’t resist putting beads everywhere lol). Just skip them on anything made for babies or little kids, since they could come off.
Faces are where your felt characters get all their personality, so I’ll make a whole article about embroidering faces on felt soon ♡
Glue or Sewing?
Fabric glue is totally fine for felt pieces that will just sit somewhere, like a layered picture or a frame on a shelf. It’s quick, and a few dots are enough. Just use glue made for fabric or felt, not school glue, and not too much, or it soaks through and makes the felt stiff.
But for anything that will be touched, squished or carried around (plushies, keychains, bag charms), sew it. Glue eventually lets go, and stitches don’t. And here’s one of my favorite tricks: glue + stitch. Put a tiny dot of glue under a small piece to hold it in place, then stitch it down. The felt stays steady while you sew, nothing slides around, and your details end up exactly where you want them.
Your First Project: A Tiny Felt Charm
A small, simple shape (a heart, a star, a cloud) is the perfect first project. Here’s how:
- Cut two identical pieces of your shape in soft felt: one for the front, one for the back. Around 5 to 7 cm is a comfortable size to start – smaller is harder to sew and to stuff.
- Decorate the front first. Embroider a little face or sew on small felt details now, because once the two pieces are joined, you can’t hide the knots on the back anymore.
- Add a loop if you want a keychain: fold a short piece of ribbon or cord and place the ends between the two layers at the top.
- Sew around the edge with a blanket stitch or whip stitch, going through both layers (and through the loop when you get to it, a few times for extra strength). Leave a small gap of about 2 cm.
- Stuff it lightly through the gap, using small pieces of stuffing and a chopstick to push them into the corners. Small felt plushies look best a little puffy, not overstuffed.
- Close the gap with the same stitch, tie a small knot, then push the needle into the plushie and out a little further away. Pull gently, trim, and the end of the thread disappears inside!
Common Beginner Mistakes (that we all make)
- Using too many strands of floss: all 6 strands look bulky on small pieces. 1 or 2 is plenty.
- Pulling the thread too tight: it puckers the felt and squishes your shape. Snug is enough!
- Stitches too close to the edge: felt can tear if you sew right on the edge. Stay about 2 to 3 mm in.
- Uneven stitches: totally normal at the beginning. Try to keep the same distance between each stitch (that little ruler helps!), and it gets better super fast with practice.
- Overstuffing: it stretches the felt and makes the stitches gape. Less is more.
FAQ
Do I need a sewing machine for felt crafts?
Not at all! Small felt crafts are almost always sewn by hand, and that’s part of the charm (and part of the relaxing part, if you ask me).
Does felt fray?
No, and that’s why it’s so beginner-friendly! Felt is made of fibers pressed together, not woven threads, so there’s nothing to unravel: cut any shape you want and the edge stays clean. No hemming needed.
Can I wash felt crafts?
It’s better not to throw them in the washing machine. Acrylic felt can pill and wool felt can shrink. Spot clean gently with a damp cloth and a little soap instead, and let it air dry.
Where can I find patterns?
I’ll be sharing free felt templates here soon! In the meantime, here’s a little secret: simple doodles make perfect felt patterns. Any of my cute cat drawing ideas or frog drawing ideas can be turned into a felt plushie by drawing the outline a little bigger and simplifying the details.
What’s Next?
Now that you know the basics, the fun part begins! In the next articles, I’ll show you how to embroider cute faces on felt, how to make sturdy felt keychains, and I have a little project in mind that mixes felt with my 3D beaded animals… so stay tuned ♡
Happy crafting!
Want to save this tutorial for later? Pin it on Pinterest ♡