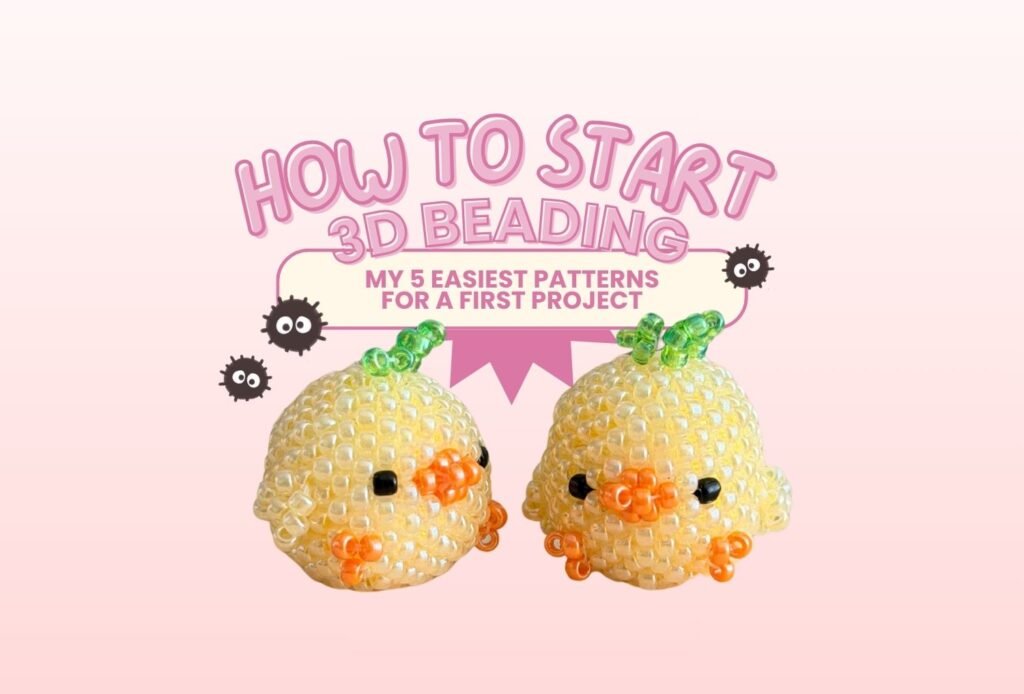
Hello hello! If you have been following along for a while, you know I fell head first into beading a couple of years ago, starting with a slightly wonky beaded ball and then my very first whale. Since then I have designed a whole little zoo of chubby 3D beaded animals, and the question I get most often is: “where do I start?”
So here it is, the post I wish I had when I started. These are the five patterns I always recommend for a first project, from the very easiest up. They all use the same stitch and the same beads, so once you have made one, the next one feels familiar.
First, the one thing you need to know: circular peyote stitch
Every pattern in my shop is worked in circular peyote. It sounds fancy, but it is one simple motion repeated over and over: pick up a bead, skip a bead, go through the next one. The shape comes from where you add or remove beads.
If you have never done it, grab my free Beginner’s Guide to Circular Peyote Stitch first. It is the exact guide I link inside every pattern, and it walks through the first rows with pictures and videos. I also detail things about the materials, and give you little tips for your learning journey! You just need a free account to claim it, and it stays in your library forever.
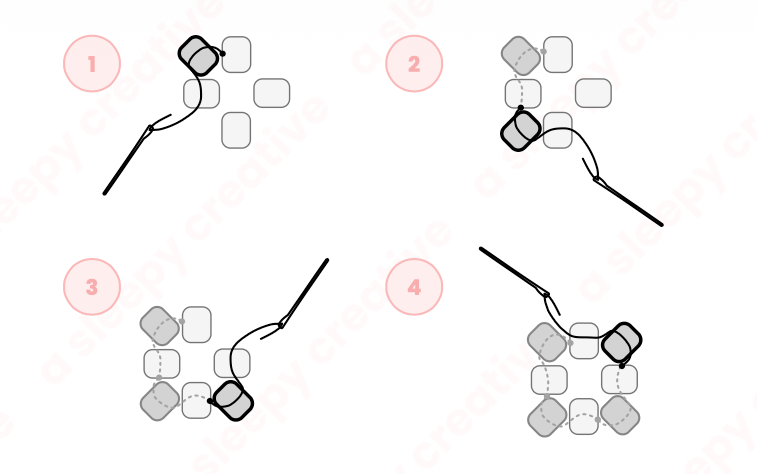
What you need
- 11/0 seed beads (I’m using either Miyuki Round 11/0 or Toho Round 11/0 mostly, colors are in each PDF)
- beading thread, I use Fireline 6 or 8 lb (max 0.2mm, I usually go for 0.15)
- a size 10, 11 or 12 beading needle
- something to stuff the body: a small polystyrene ball or a bigger bead, each pattern tells you the size
- good light and a bit of patience ♡
and that’s it! not that much, but you can achieve many cute creations with just a few things!
1. The Baby Bird, my first recommendation
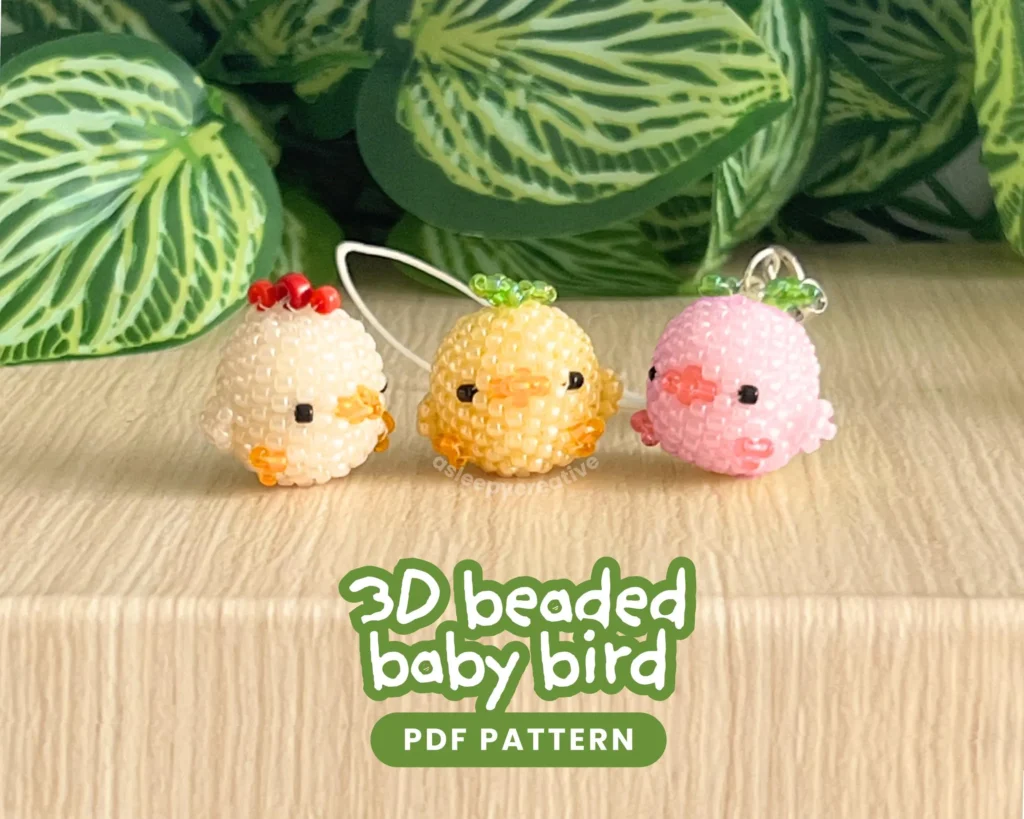
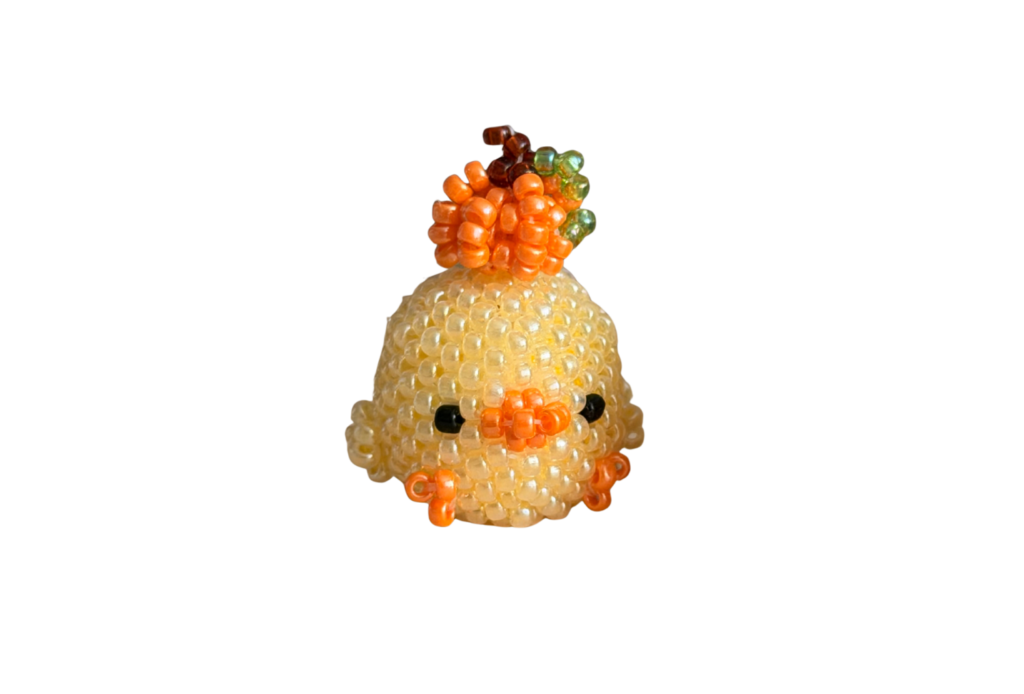
This is the pattern I would tell everyone to start with. It is tiny, fast, and very forgiving. The baby bird is a small ball with little feet, mini wings and a clover or a leaf on its head. Because it is so small, it is a great way to practice keeping your work tight without committing to a big piece. It won’t take a long time to fully complete and won’t leave you discouraged! It’s also super cute.
Difficulty: baby beginner. Perfect as a first ever project. Pattern: 3D Beaded Whale Pattern PDF
2. The Whale
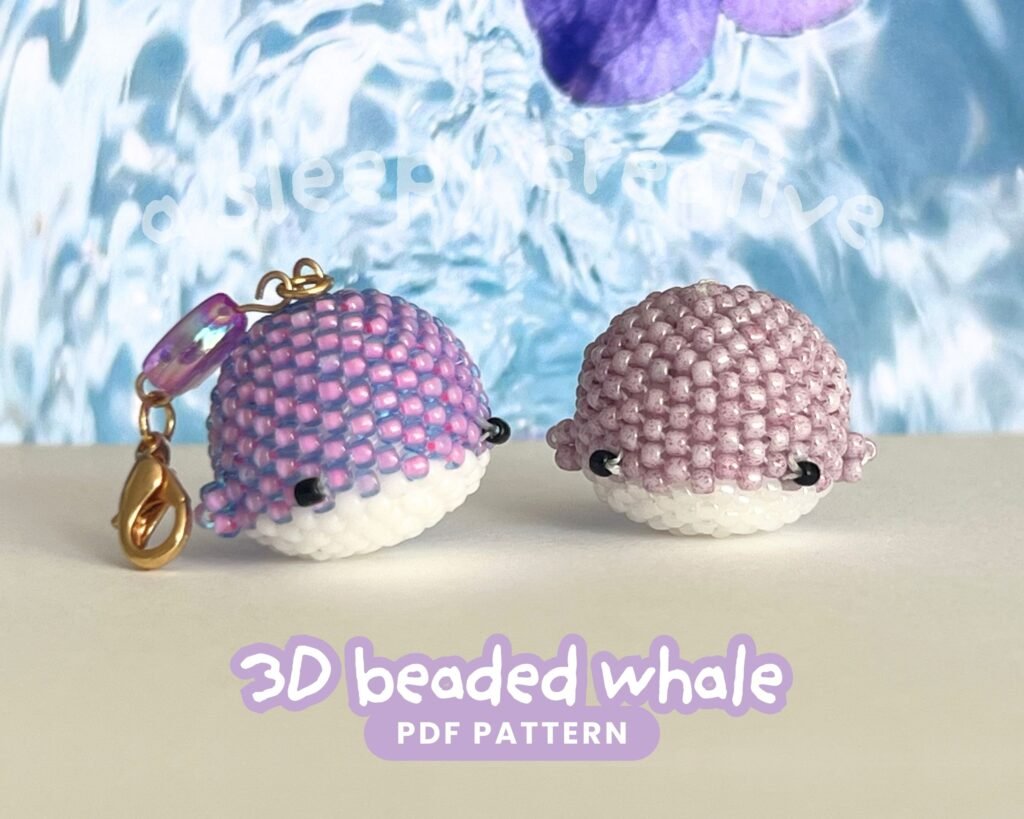
The whale is the animal that started everything for me. The body is basically a slightly squished ball with a flat bottom, plus two tiny fins and a tail. There are very few increases and decreases, so you can focus on getting your tension even. It will take a little longer than the baby bird (it’s also slightly bigger) but the difficulty level is basically the same!
Difficulty: baby beginner. Pattern: 3D Beaded Baby Bird Pattern PDF
3. The Chubby Bird
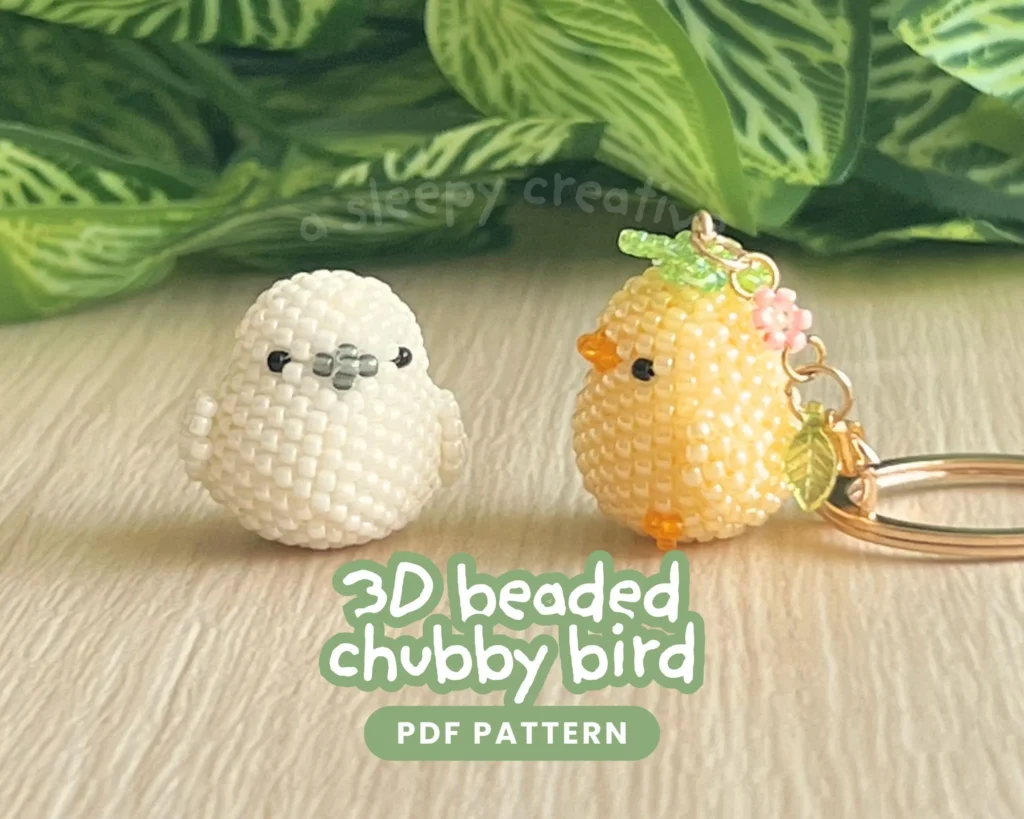
The Chubby bird is one of my most popular patterns, and it’s not a hard one! It’s quite easy once you get the hang of it, and it comes with many different add-ons you can try to make it more interesting and cute. This is also the messenger of the Sleepy Clouds, my lil universe – where everything happens ♡
Difficulty: beginner. Pattern: 3D Beaded Chubby Bird Pattern PDF
4. The Chicken
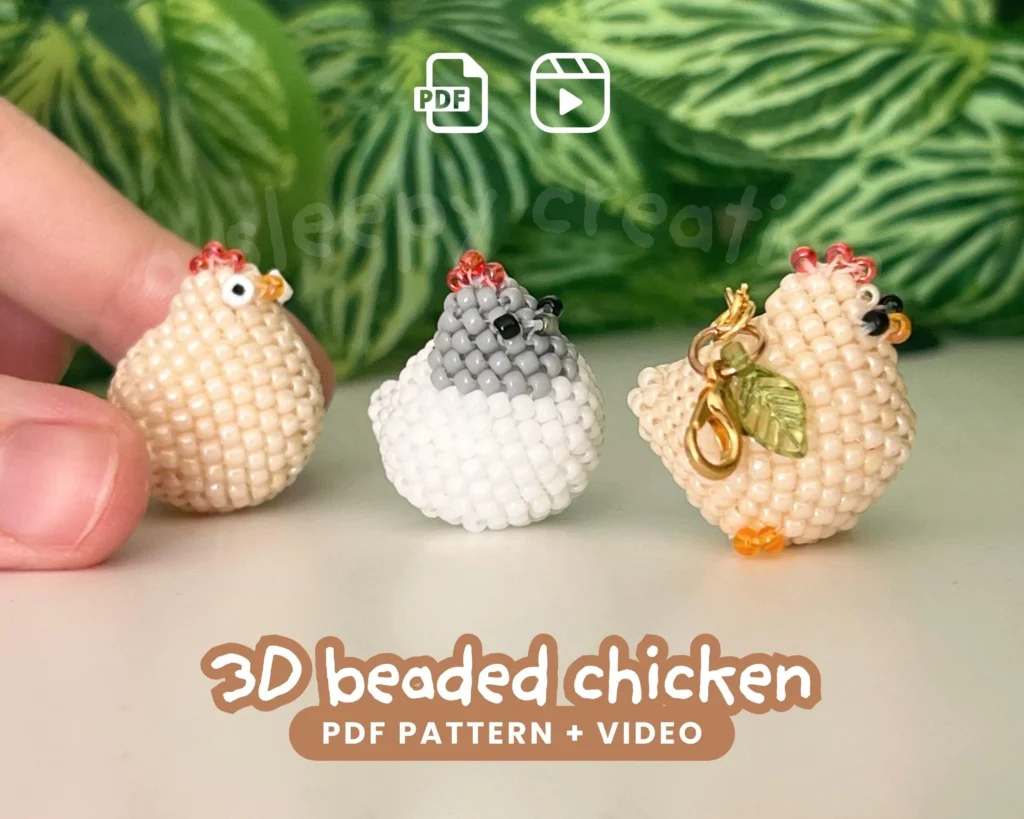
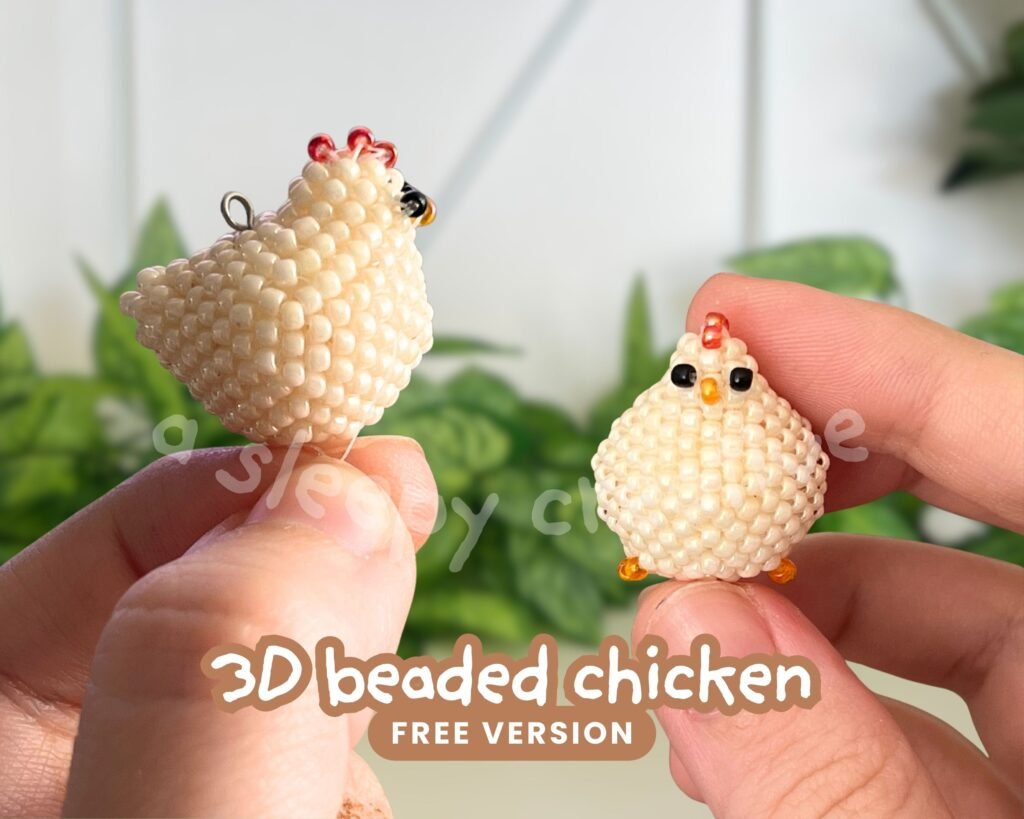
The chicken goes one step further but is still very manageable as it comes with a full process video! There’s also a free version of it on the blog if you’re interested, but it’s very condensed and it might be difficult to understand if you’re a baby beginner.
Difficulty: beginner. Pattern: 3D Beaded Chicken Pattern PDF
5. The Duck
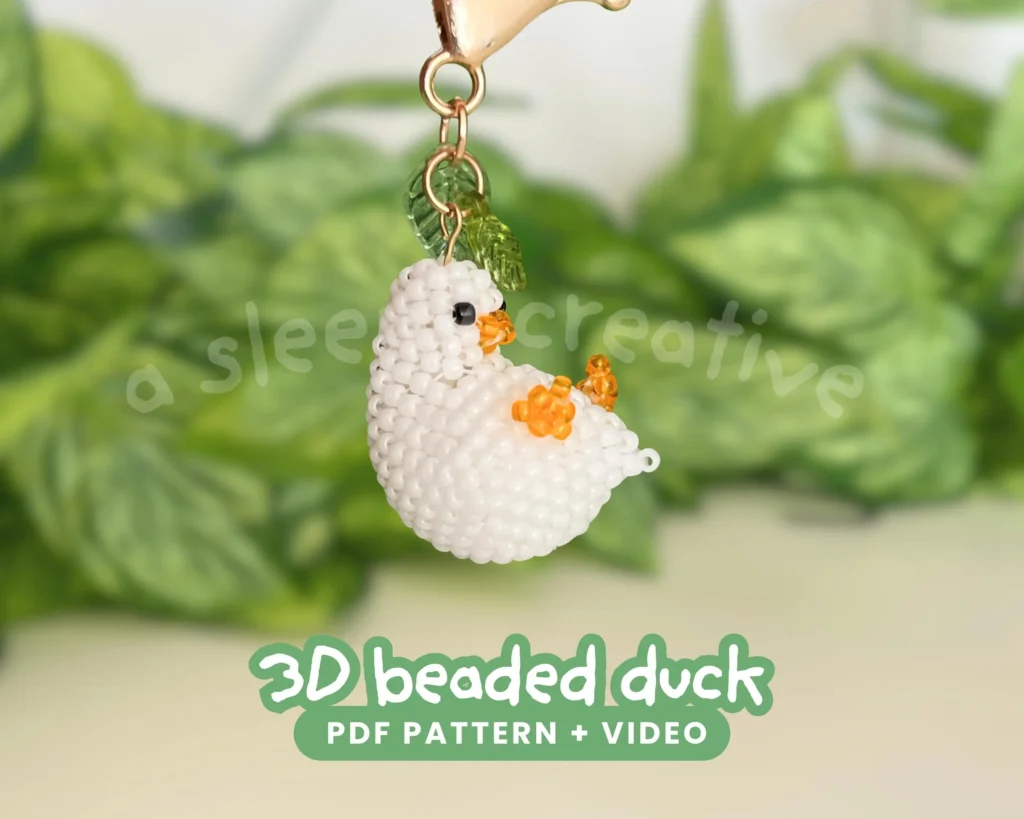
The duck is a little more complex of a design, but it’s still super manageable and it comes with a full process video – which makes it basically impossible to fail. It will teach you that increases and decreases can lead to many different results and interesting shapes, too! Still to this day, the duck is one of my favorite patterns!
Difficulty: beginner. Pattern: 3D Beaded Duck Pattern PDF
A few things I wish someone had told me
- Your first one will be a bit lumpy. Mine was too. Tension gets even with practice, the right stuffing, the right beads and a lot of patience.
- Stuff the body as you go – especially if you’re not confident in your tension management! It will help achieving the shape you want – not too tight, not too lose.
- Work in daylight if you can. 11/0 beads are small and the holes are smaller.
- Use larger beads if you’re having difficulties! It will make it 100x easier for your first creations, trust me. You can follow the exact same patterns and just change the stuffing!
- Never forget to go through the first bead added during the active row when you finish it – this is a fundamental of circular peyote stitch – without that, you won’t achieve the desired result!
- If you’re having difficulties identifying the beads you need to go through, mark them with a marker before starting the next row, or switch color for each row. This will help a lot, especially when you start decreasing!
Wrap up
Pick whichever of the five makes you smile the most, that is genuinely the best way to choose. All of them are illustrated step by step, get in your library the second you check out, and get free updates forever. And if you make one, tag me, I love seeing your little beaded friends ♡ @asleepycreative
- Browse all the patterns in my shop.