

Chibi animals are one of the most adorable art styles you can explore. They’re small, expressive, and full of charm. Bonus point: they’re way easier to draw compared to realistic looking animals, obviously. While the chibi style is often used for humans, drawing chibi animals comes with its own fun set of rules and exaggerations that bring these tiny creatures to life.
In this little guide, you’ll learn:
- What’s a chibi
- The core structure and proportions
- How to stylize animals while keeping them recognizable
- Tips for making your chibi animals extra cute and expressive
Whether you’re new to drawing or just looking to develop your kawaii drawing skills, this step-by-step breakdown will help you create your own chibi animal characters with confidence.
What Are Chibi Animals?
The word “chibi” (ちび) means “small” in Japanese. In art, chibi characters usually refer to mini versions of people, drawn with large heads, small bodies, and simple features.
And if you like chibis, you’ve probably already discovered my Chibi Girl Drawing Ideas with this article; in which I showed you an image showing how chibis can be stylized:

Chibi animals follow the same core formula: big head, tiny body, minimal details. But they need a few extra touches to stay recognizable and expressive as animals.
Key differences:
- Chibi animals rely on animal-specific features: ears, tails, snouts, fur patterns
- Their silhouettes still need to hint at the real animal
- You’ll stylize and simplify, but never fully lose the identity of the animal
To draw great chibi animals, it helps to observe real animals first, then creatively exaggerate and round out their shapes to match the soft, cute chibi style.
Chibi Animal Drawing Tutorial: Step-by-Step
1. Study Real Animals (Then Stylize)
If you’re wondering how to draw a chibi animal and still make it look like a rabbit or a cat (or any animal you’re trying to chibify), the key is observation + exaggeration.
- Look at real photos or videos of your animal
- Pick 2–3 features that define it (e.g., long ears, fluffy tail, big eyes)
- Exaggerate those:
- Make ears thicker, rounder
- Make tails puffier, curlier or thicker (it depends on what the tail looks like on the base animal, of course)
- Use tiny dots or shapes for noses and mouths
Don’t copy every detail! Just push the features that make the animal recognizable.
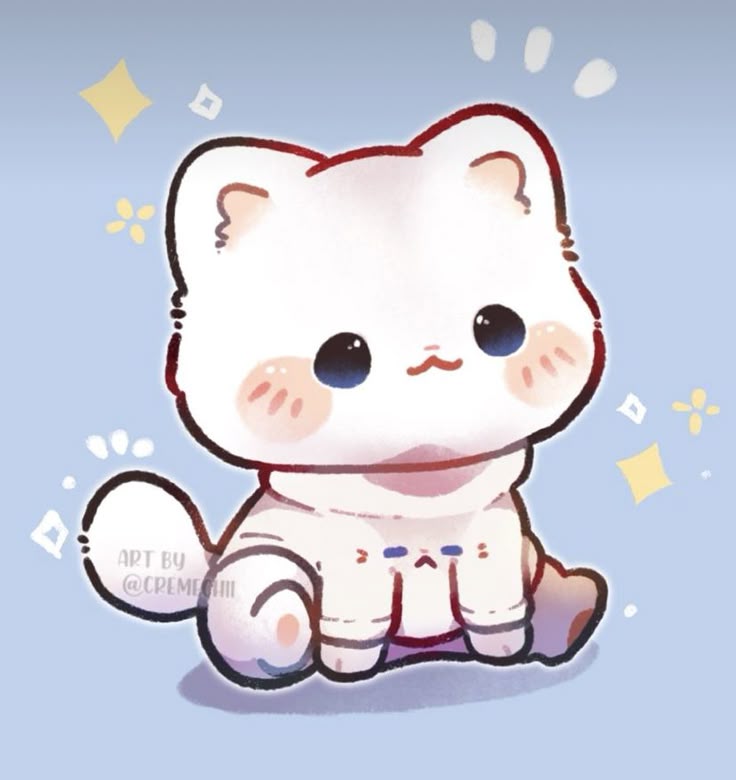
Let me show you how I would study a real cat to stylize it later on, and let’s do it together!
(You can follow along with me by taking the same picture I’m using, or another one of your choice. You can even take a picture of your pet!)
Okay so we have the picture of the animal we want to draw. First, observe it. We have a small head, little ears, a body that’s much larger than the head, a long tail, and limbs.
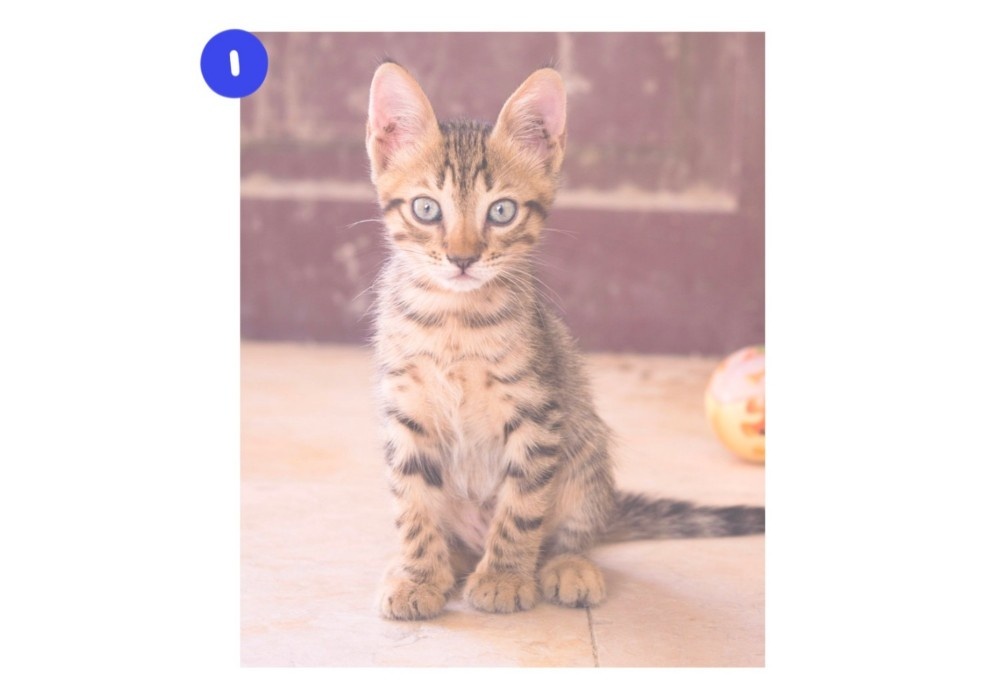
First, let’s lower the opacity of the picture you chose. If you’re doing that with paper, you can lower the opacity of your picture before printing!
When you start, I suggest you trace the main shapes on the picture you’re referencing. By doing that, you can have a better idea of the shapes you need to keep on your chibi:
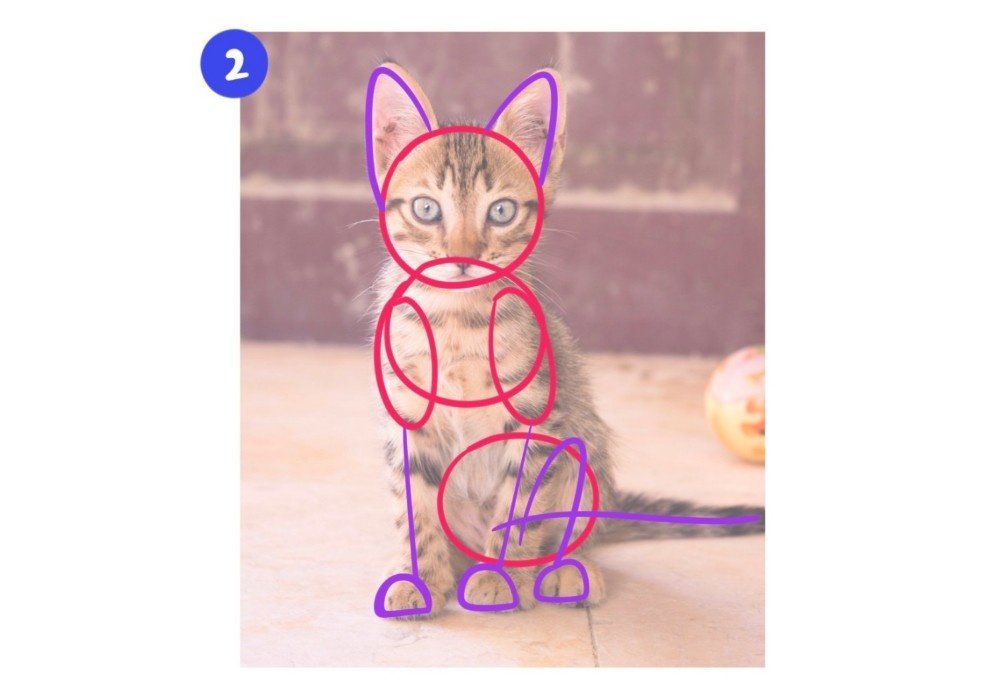
Here, we can see what I was talking about very clearly! The head is very small compared to the body, and the limbs are quite long. Now, we need to stylize it. The keywords: big head – round shapes – exaggeration.
When you have your main shapes drawn, you’re ready to try drawing your own chibi version of this animal!
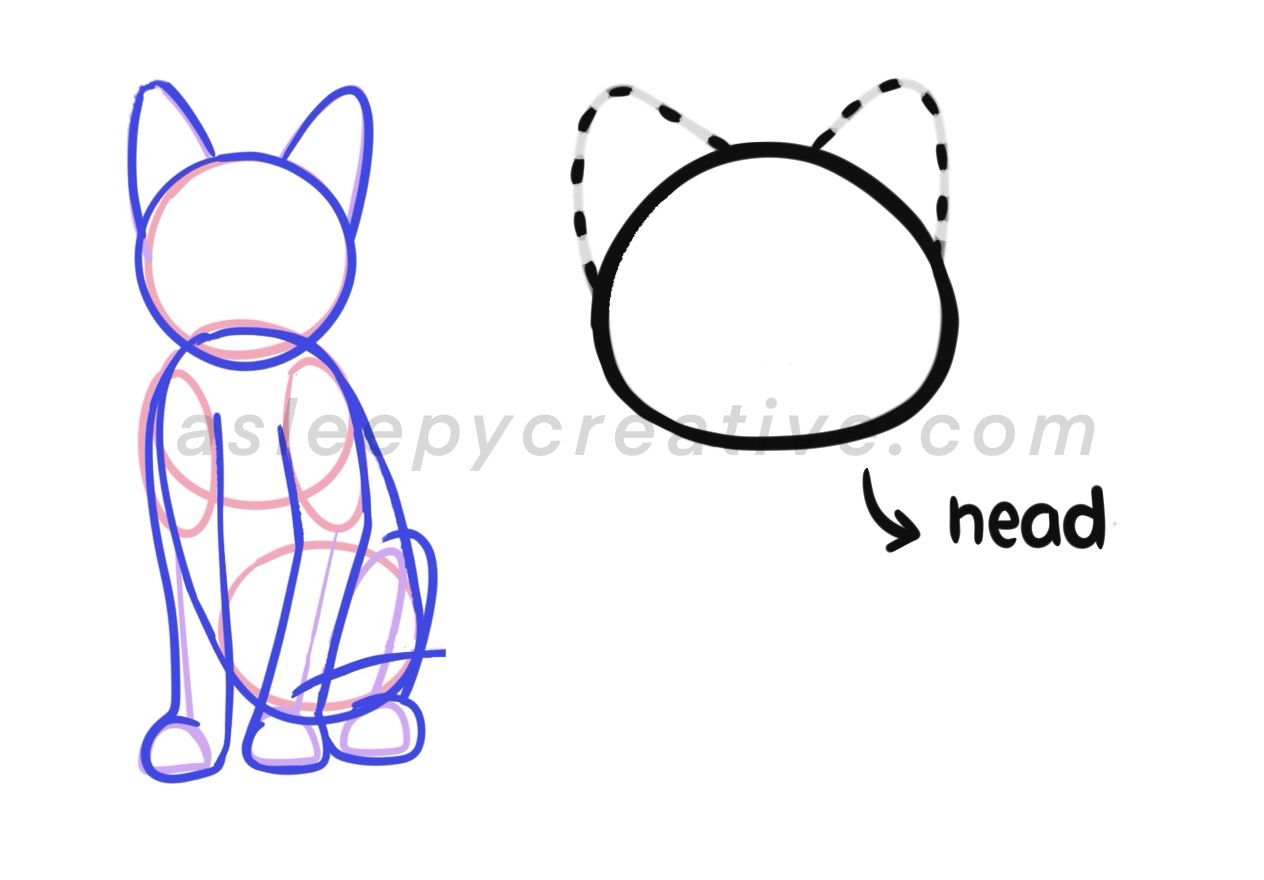
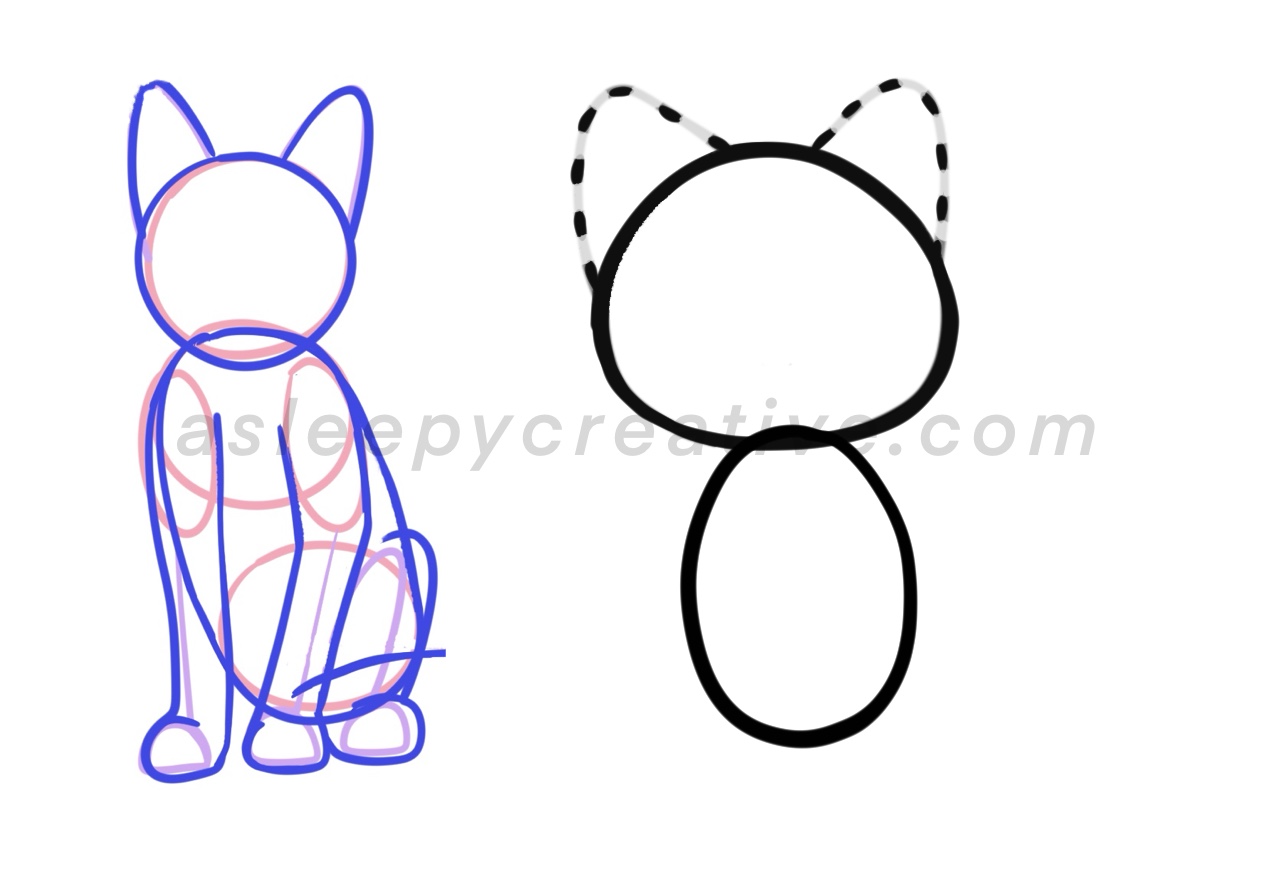
2. Start With a Big Round Head
The chibi head is always oversized – usually 1:1 or 2:1 ratio with the body. (it depends on the look you like, but you can reference the image at the beginning of the article to see what are popular looks for chibis) In my case, I like the 1:1 ratio. But I don’t always stick to it, it depends on the mood!
Make the head a circle or soft oval. Don’t make it too perfect, as it will make it look less cute. But make it big! Big heads are a key point for chibi drawings. For chibi animals, this helps make space for large eyes and expressive features.
📝 Tip: Even animals with sharp features (like foxes or cats) become cuter when you round their faces and soften the angles.
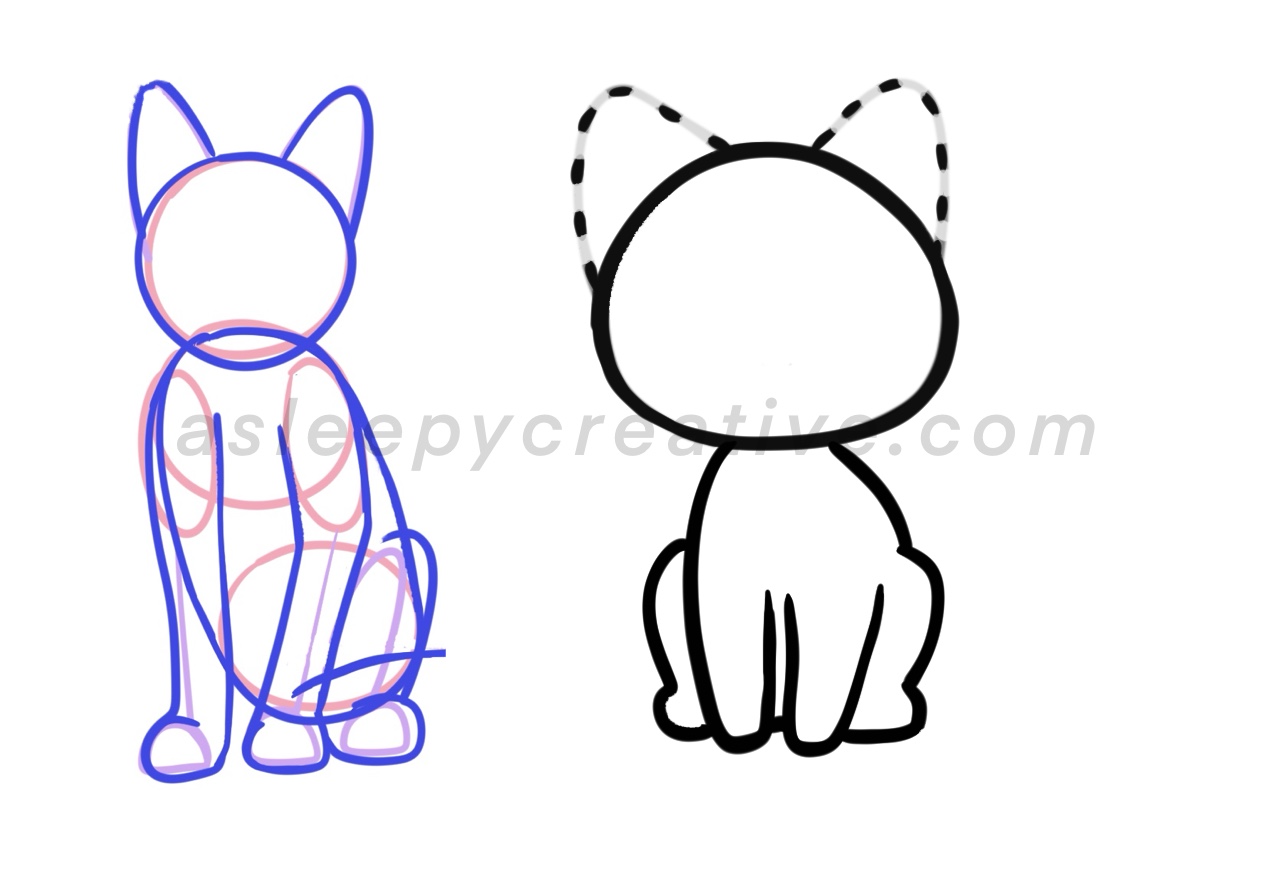
3. Use a Simplified, Tiny Body
Draw a small body (like a jellybean or oval) beneath the head.
- Keep arms and legs short and simple
- Skip muscles, claws, or extra joints unless it’s part of the charm (like paws!)
- Focus on chunky shapes over realistic anatomy
For sitting poses, use little “U” and “2” shaped legs and keep everything close together to keep the cute aspect.
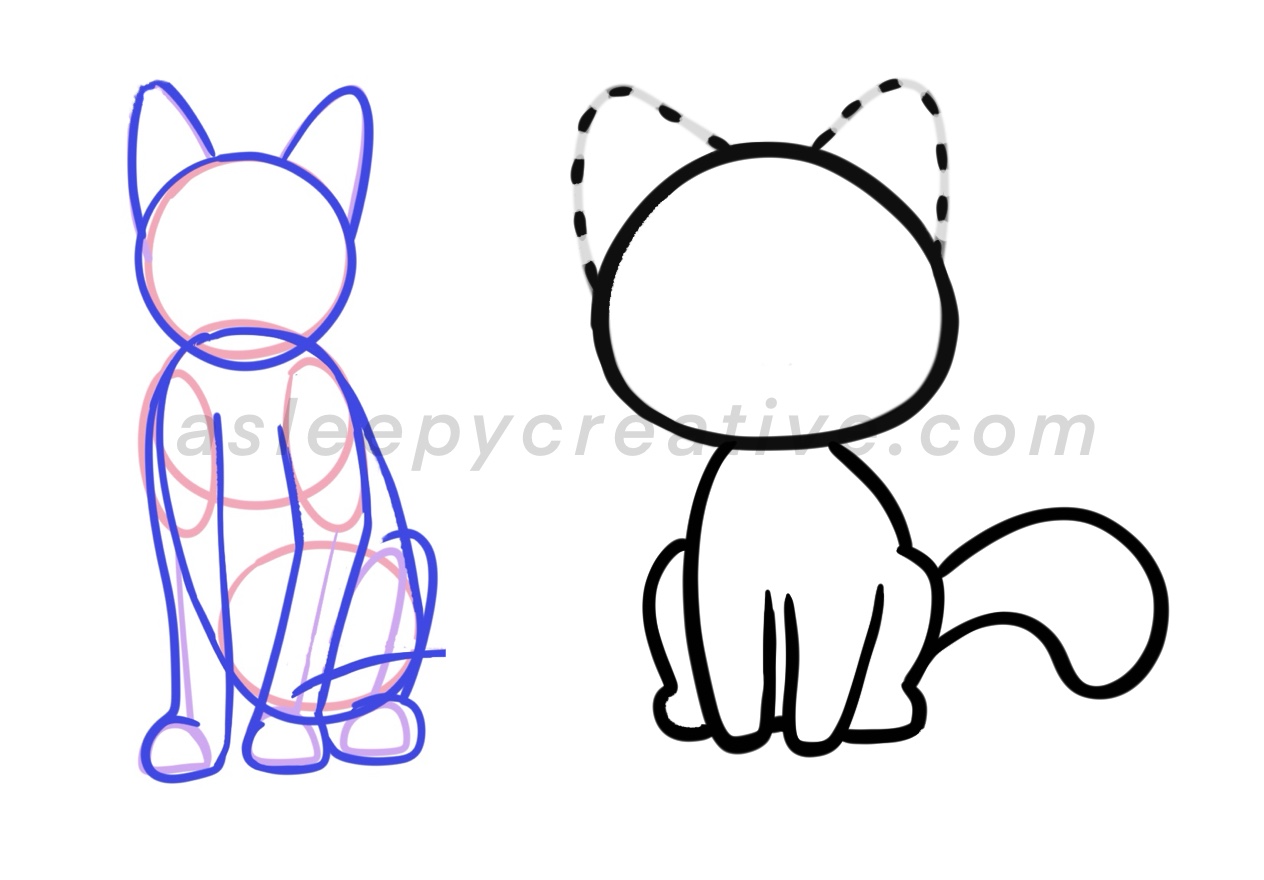
4. Exaggerate & Round All the Shapes
Chibi = round, soft, and squishy. Use circles, ovals, and curves for every part of the body.
Even spiky animals (like hedgehogs or porcupines) can look adorable if you soften their shapes.
Examples:
- Turn triangle ears into rounded triangles
- If you want to represent the fur, turn it into rounded clumps or cloud-like shapes
- Make the tail thicker for an extra cute look!
- Replace sharp angles with softness as much as you can ♥
This technique is what gives chibi animals their kawaii look ! It gives a gentle look instantly. Of course, as time goes by, you can definitely give back some sharp edges and angles while keeping the cute look. But at first, when you’re learning, a nice tip is to keep everything relatively round. ♥
5. Simplify the Face with Big Eyes & Tiny Features
Keep facial features simple, but expressive:
- Eyes will depend on what you like: some artists draw very big eyes for their chibis, and other prefer little ones. In any case, don’t draw them too close to each other!
- Tiny or no nose (use a dot or triangle)
- Small smiling mouth or “3” (or w) shape
- Add blush circles or “nwn” (lol pls imagine it on the face of the chibi) expressions for emotion
The face is where most of the charm comes from. If you nail the face, your chibi look will definitely look super cute.
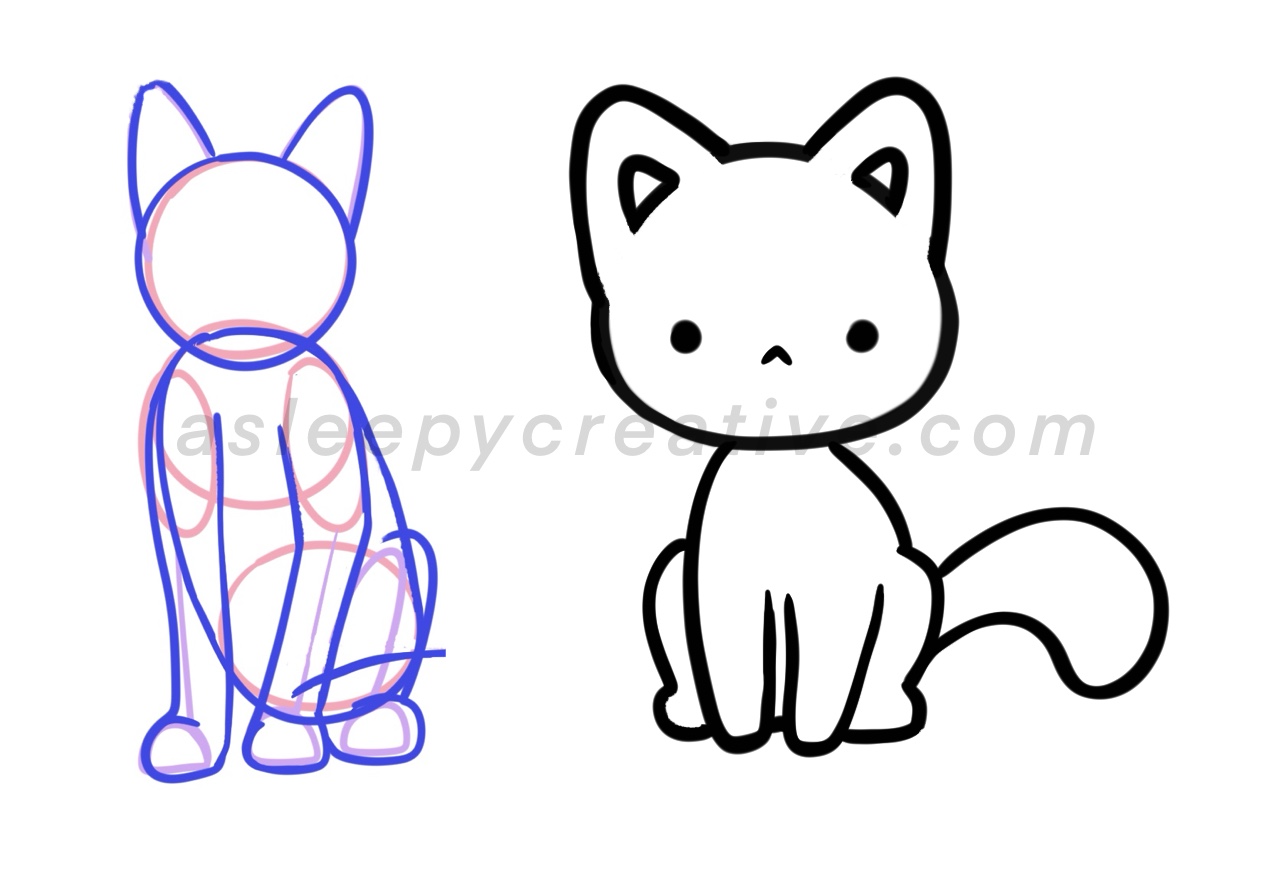
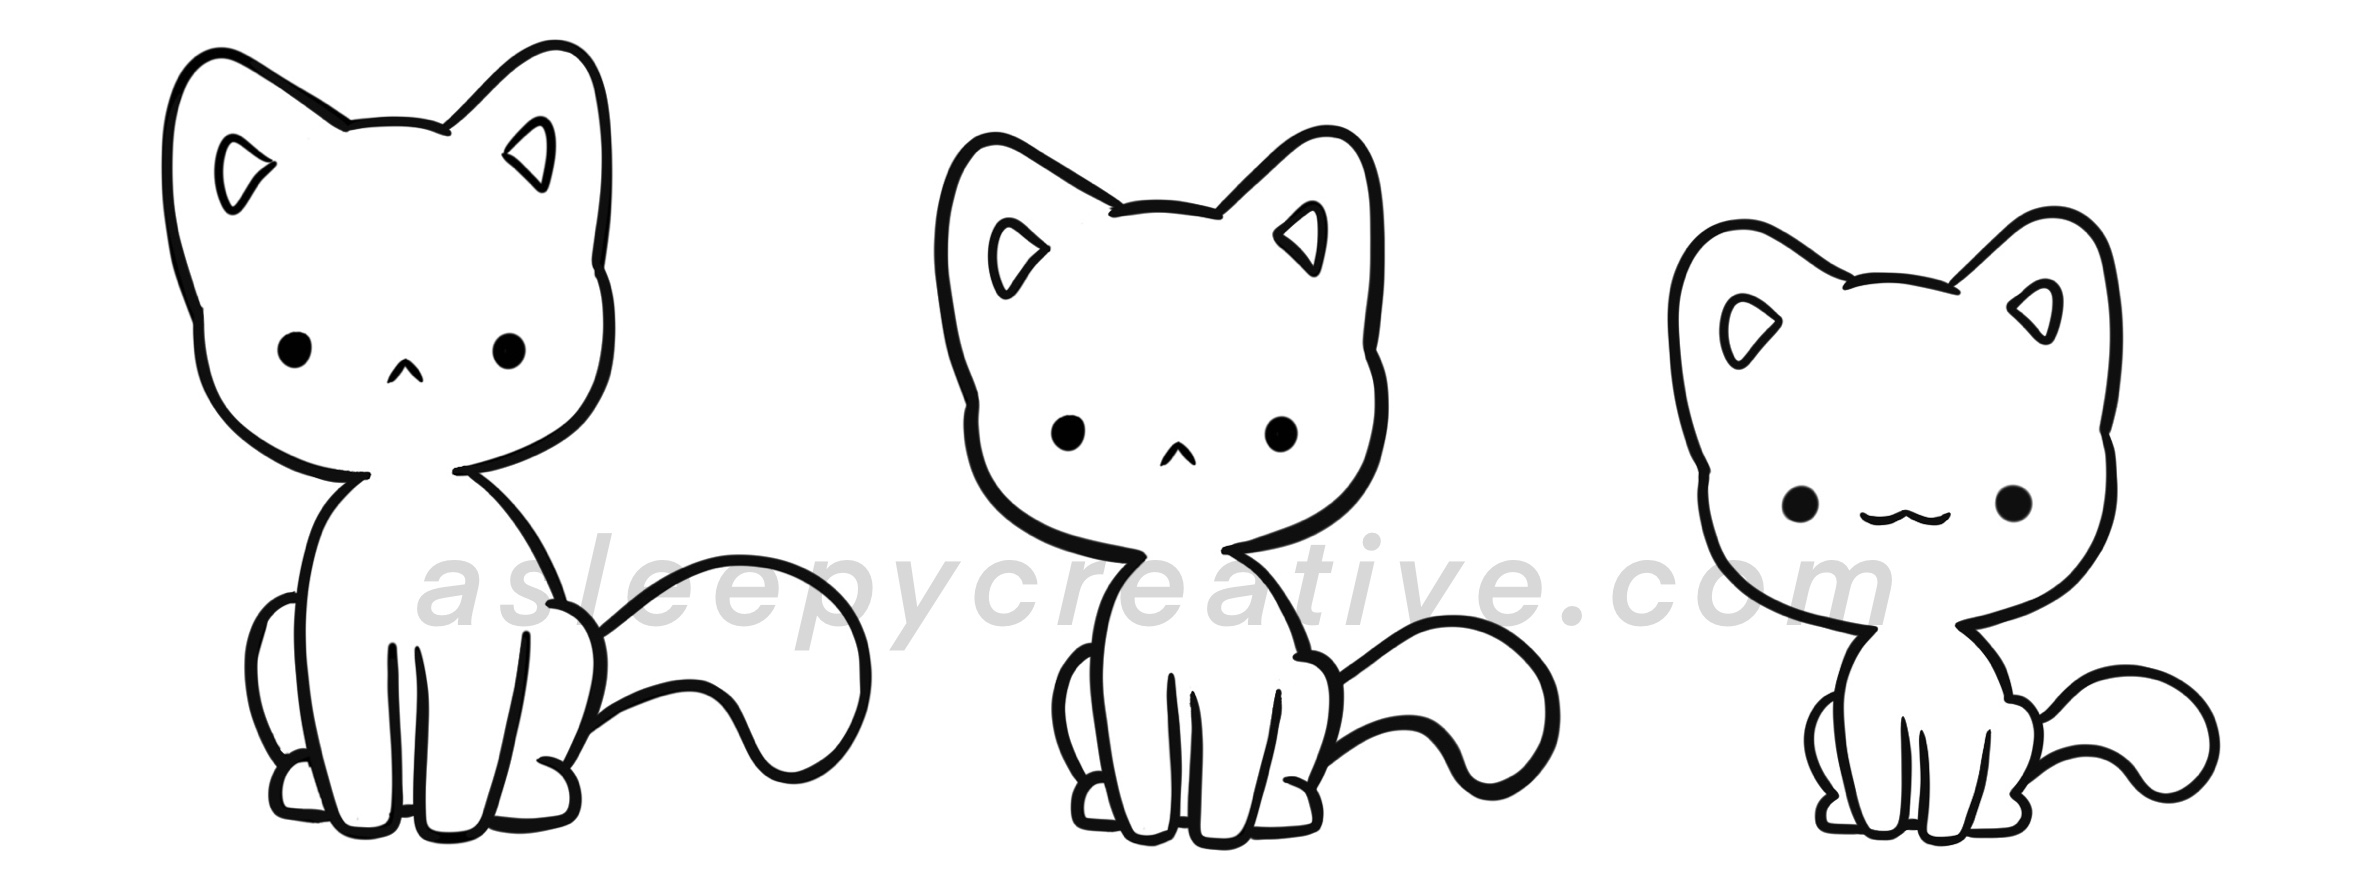
Of course, you can simplify it more, or less, depending on what you like. I usually simplify it much more (close to the version on the far right) to give an extra cute look ! But it’s up to you to discover what you really love in chibis.
Pin it!
Chibi Rabbit : Step by Step
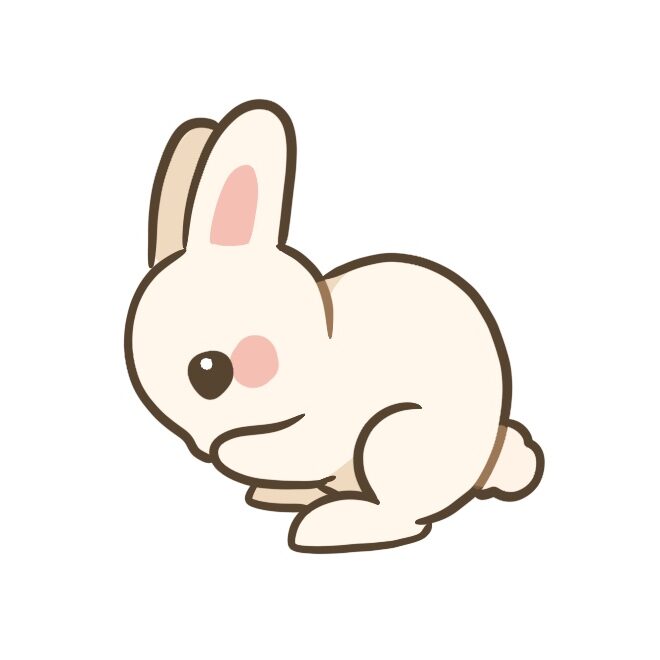
Let’s now try to chibify another animal: the rabbit!
As for the cat just above, I searched for a picture of a bunny. Bunnies are naturally super cute to be honest, so they’re not the hardest animal to draw as a chibi. I chose this picture:
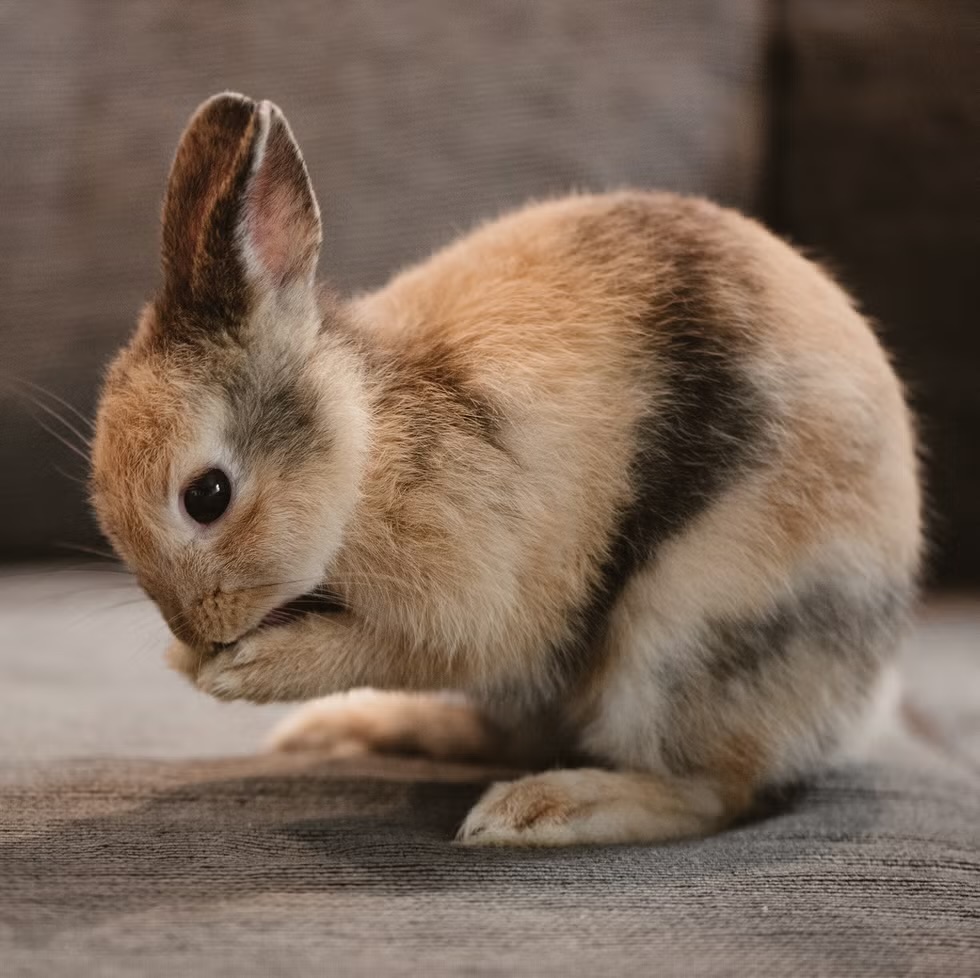
We will follow the same steps as we just did with the cat, but I put all of them in one picture that I will explain in bullet points.
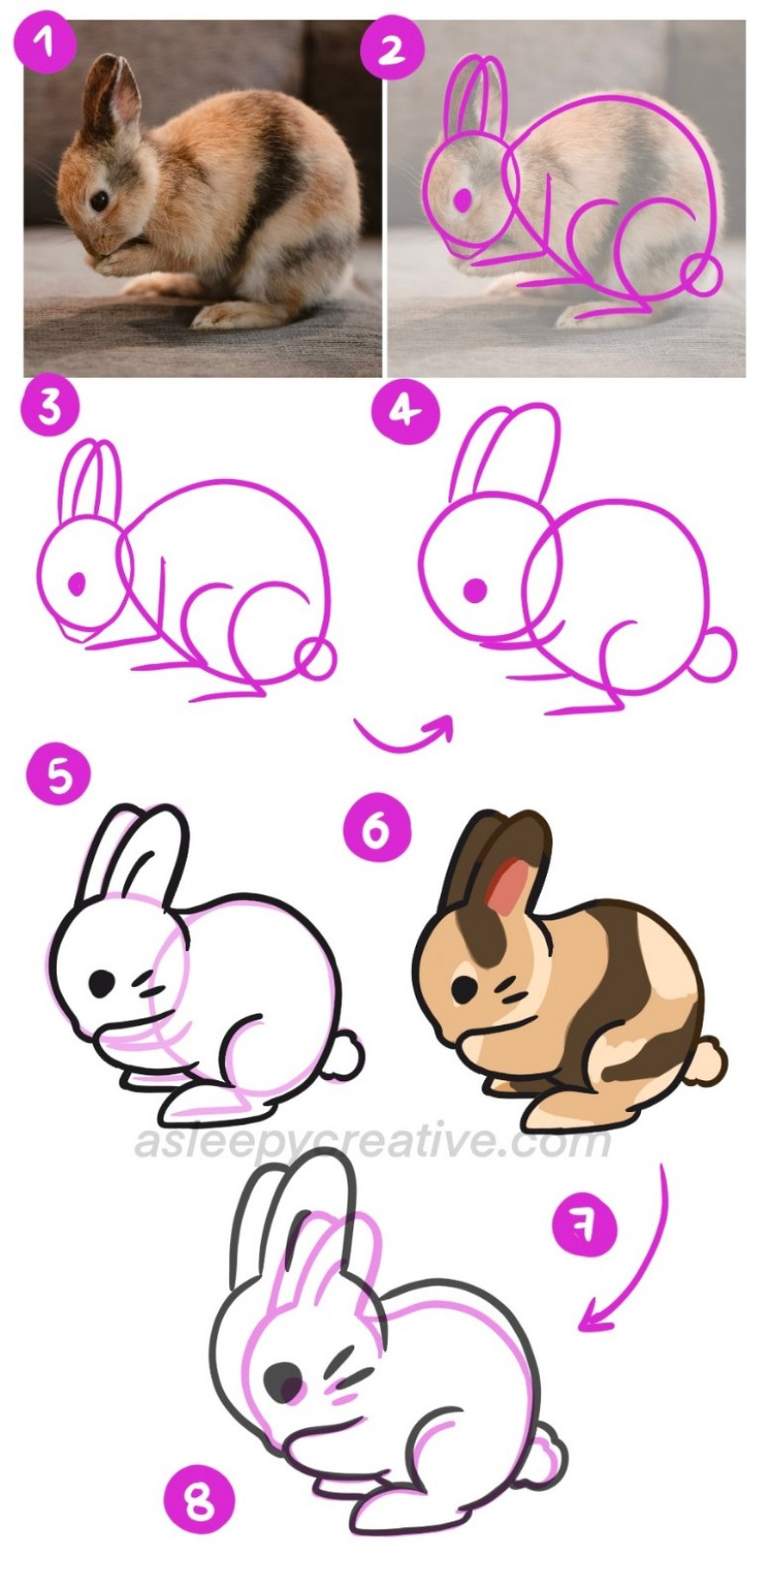
1. Start from the picture you selected. It should be a picture that you can easily trace the main shapes of if you’re a beginner practicing and that you don’t have much knowledge about animal’s anatomy
2. As for the cat example, trace the main shapes on your picture: a circle for the head, one for the body, the ears, little tail and roughly visualize where the legs are placed.
3. From there, you can check the lines you’ve traced without the picture underneath! It should still look like a bunny. If it doesn’t, you probably had a little problem while tracing your shapes – and you have to start over.
4. Start of the stylization! Make the head bigger, the body smaller, and the limbs less angular. Of course as I wrote often since the beginning of this article, the most important point is reallly to make the head big. But right now, let’s not make it too big. Sometimes, it’s not easy to continue drawing what you want if you change the proportions too much. So let’s start little by little!
5. You can now trace over your draft with the overall shapes of the bunny and draw your brand new bunny. Isn’t it getting super cute?!
6. If you want it to resemble the reference picture, you can color it the same way – I just wanted to color the drawing to show you what it looks like when you’re done.
7. If you want to take it further, I suggest you try to exaggerate the shapes even more : you leave the body practically as it is on your chibi bunny (n°5) and you make the head even bigger. Then you have an even more chibified bunny as a final result:
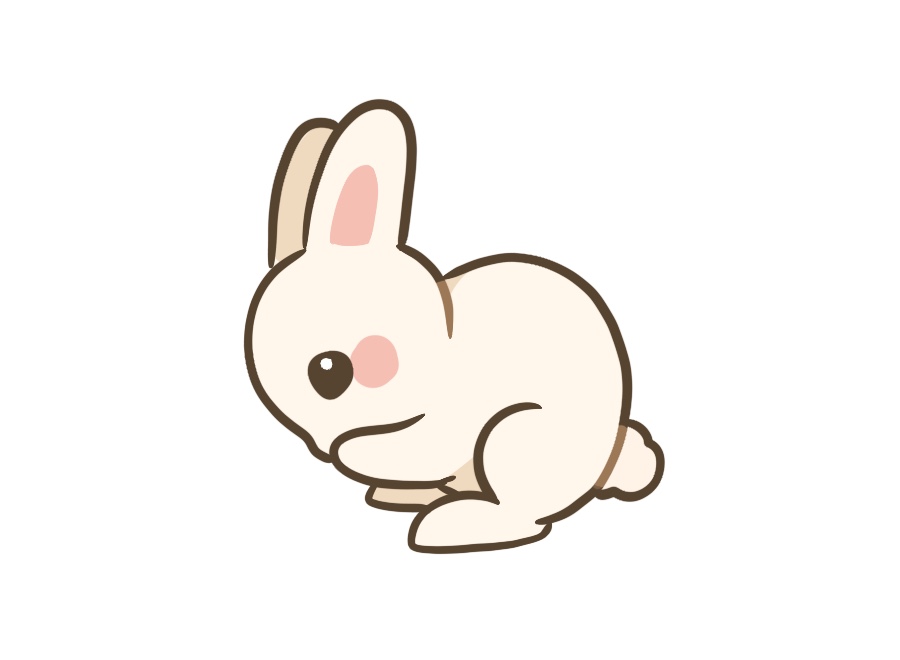
Isn’t it cute?!
And you can do that with all the animals you want. It’s super easy, and such a fun process to go through. ♥
6. Learn from Artists You Love
Finally, to take your drawings to a whole new level, you can study art styles you like. Studying art styles not only will give your inspiration, but will also teach you about possibilities. Sometimes, you can’t imagine how you can stylize some shapes or movements – and when you’re a beginner, that’s totally normal.
Studying other chibi animal artists is one of the fastest ways to grow your skills.
Ask yourself:
- How do they draw fur with details?
- How do they stylize a square/triangle/oval shape?
- What shapes do they exaggerate?
- How simple or detailed are their eyes?
- How do they draw the face overall?
- Which features do they highlight / omit?
Take inspiration, try redrawing a few styles, then blend the parts you love into your own unique look. You’re not copying – you’re learning how to stylize animals while staying true to their spirit. As time goes by and as you discover more ways to stylize features and shapes, you’ll learn the way you love to make yours look like.
If you want to look for inspiration, you can write “chibi cat” “chibi bunny” “chibi animal” on Pinterest or Google and see what comes up. As you dig, you’ll definitely find artists you like. ♥
When you study artists styles – please be mindful! Do not just copy their art style, this is not the point. The point is to discover what you love, create new things. Just copying someone’s art style is not gonna let you discover yours. Also, refrain from tracing over other people’s art when you don’t have permission; it’s not very respectful. You can trace over all my drawings for your personal usage though, as it is the point of the blog. 🙂
Final Tips for Drawing Chibi Animals
- Keep it soft, round, and simple
- Focus on recognizable features
- Don’t be afraid to exaggerate
- Reference both real animals and cute chibi art styles
- Practice with animals you love first (cats, bunnies, bears are great starters, because you’ll find loads of references!)
Wrap-Up: Build Your Own Chibi Animal Style
Drawing chibi animals gets easier the more you do it, I promise. Some of your first doodles might look a little funny or wobbly, and that’s totally okay. Every sketch is part of learning and building your own style.
Take time to look at real animals, notice their quirks, and explore how your favorite artists simplify them into cute shapes. You’ll start seeing patterns and figuring out what makes each creature special. And color? It adds so much personality. Even a soft blush on the cheeks or a tiny bit of sparkle in the eyes can make a big difference. Try playing with different palettes to see what fits your character best.
Most of all, don’t be afraid to make mistakes or try weird ideas. That’s where the fun begins. You’re not just learning how to draw. You’re slowly creating your own world of tiny, squishy, lovable creatures.
huhuhuhuhu”???
I love the cat at the end
You are amazing at drawing