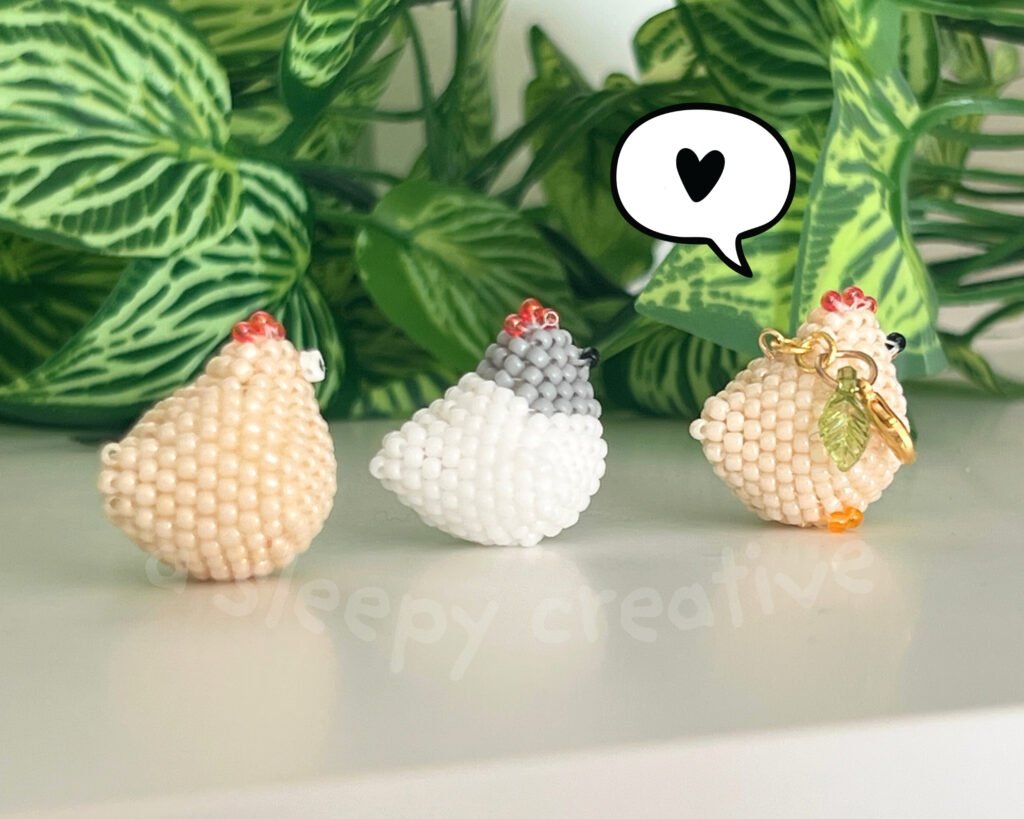
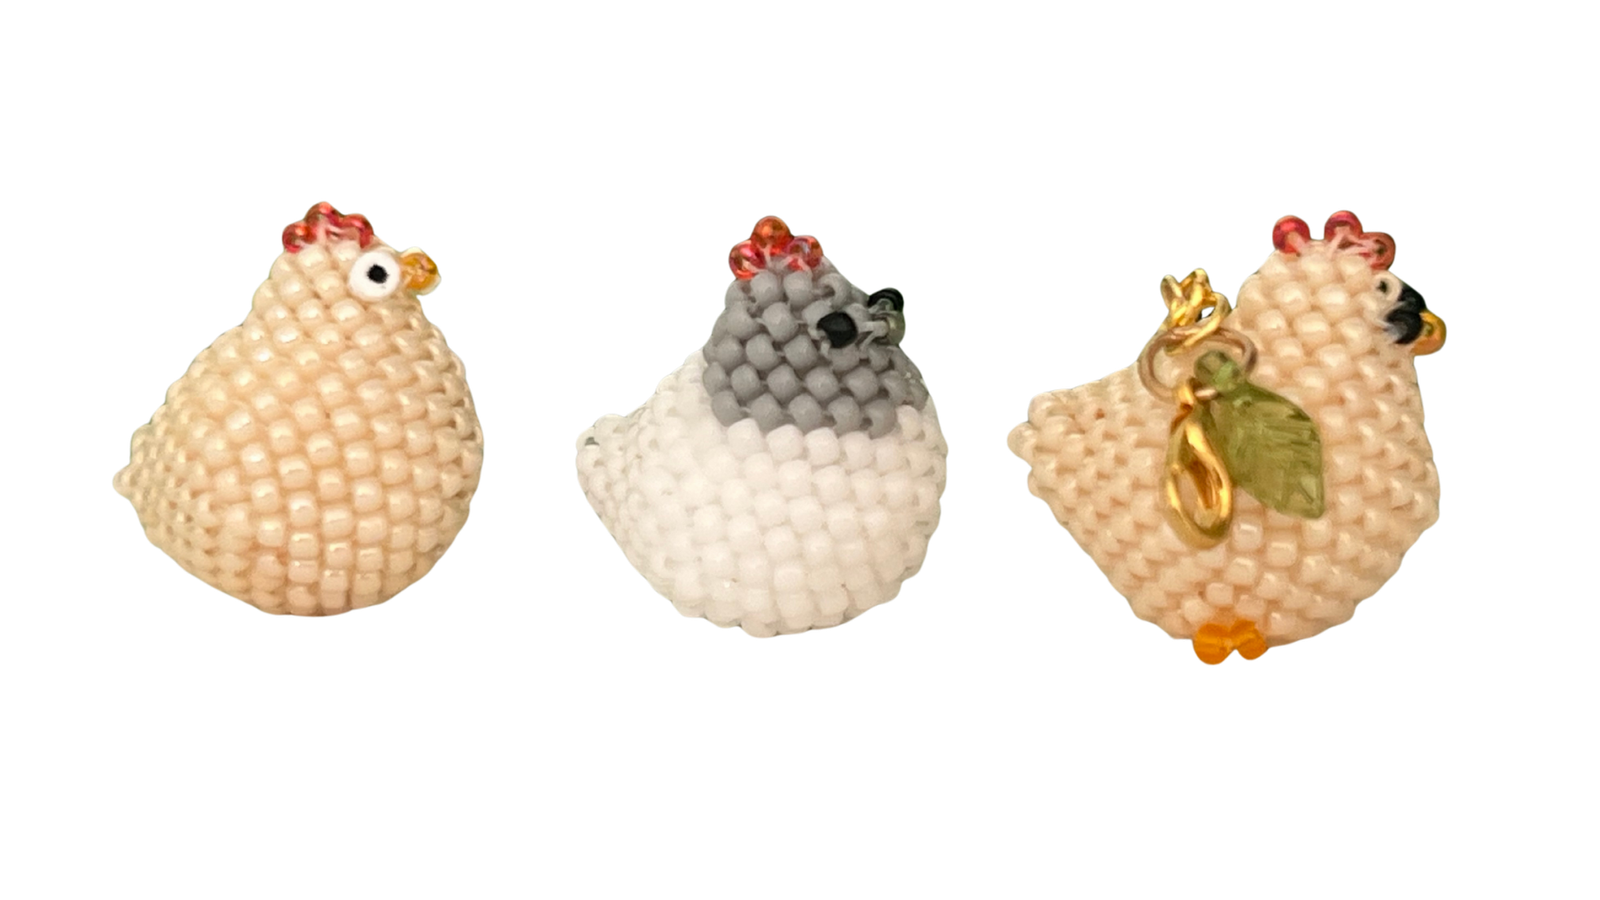
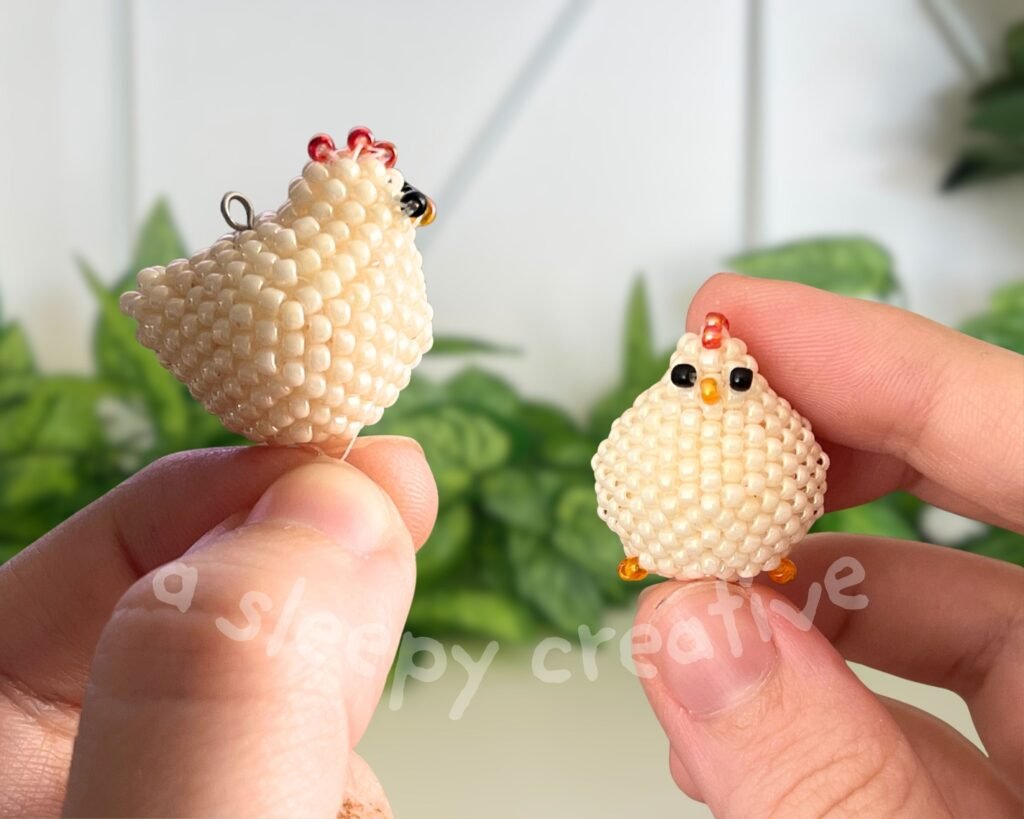
So my beaded chicken has attracted a lot of eyes, and I wanted to share a free version of it. If you take your time and follow the steps, you’ll be able to make little chickens like mine! But if you want the convenience of having a step by step pattern, you should check out the chicken pattern on Etsy.
If you do not have any basics known about peyote stitch and circular peyote stitch, I have two articles about it:
If you learn these two things before jumping in with this more complex design, you’ll be ready to follow this one with no issues – just a little patience required. But if you really want to make a chicken right away, I suggest you check out the full pattern.
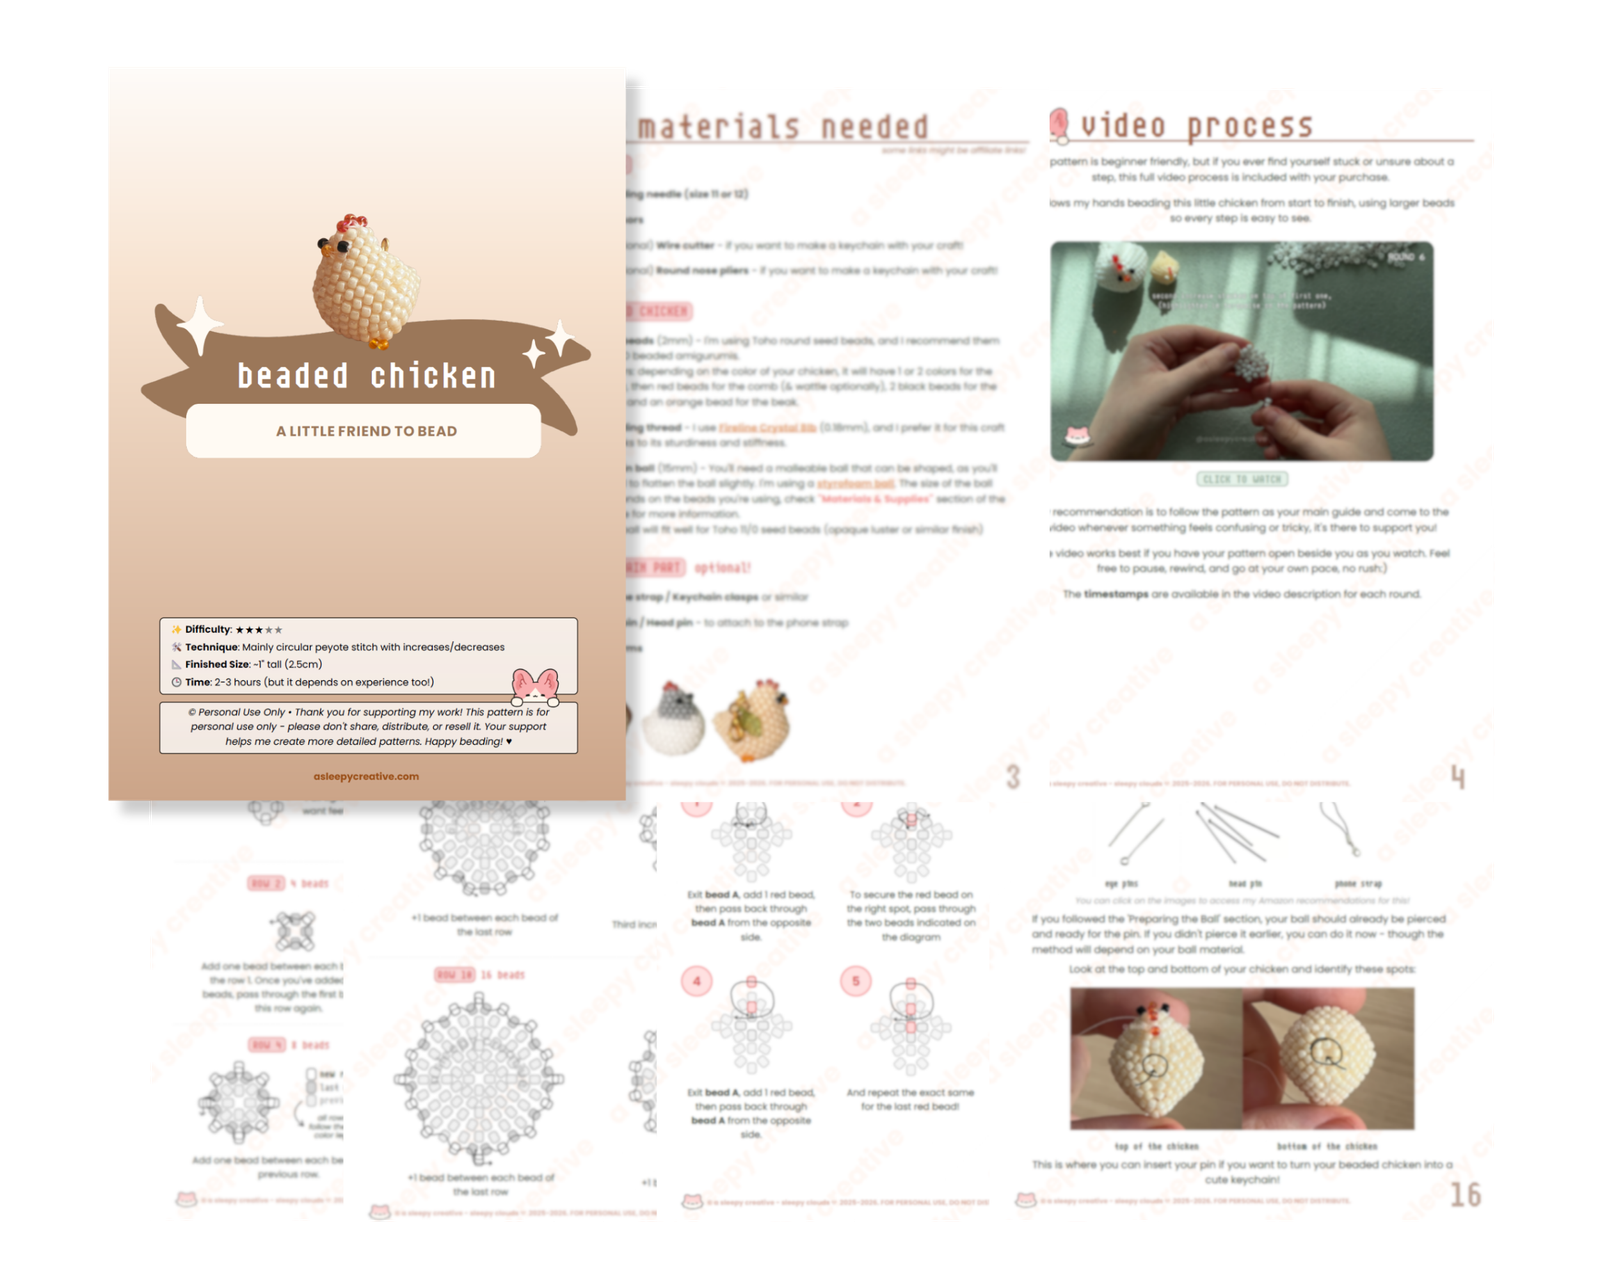
It is a 20 pages PDF file with explanations, diagrams and pictures to guide you step by step and help you make your first chicken keychain.
Materials needed
You’ll need some materials before starting, which are:
- 11/0 Beads (2mm) in your desired colors (3 colors necessary: body, eyes, beak)
- Beading thread & needle
- Stuffing to put inside of your chicken (I’m using a polystyrene ball)
Chicken Pattern – Body
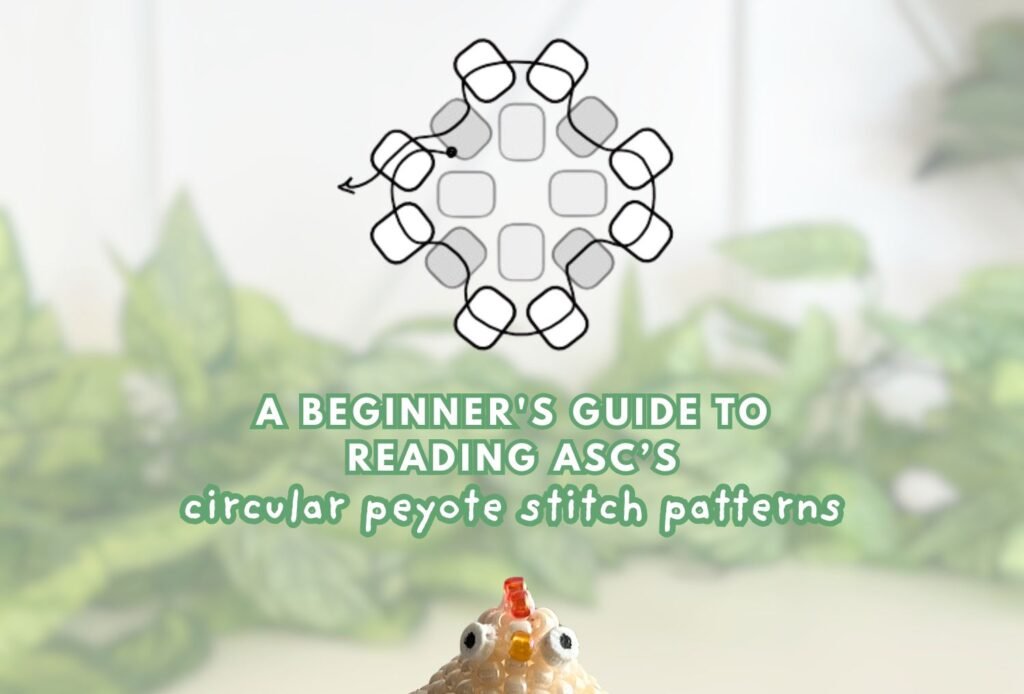
This condensed diagram covers the whole chicken’s body, from top to bottom.
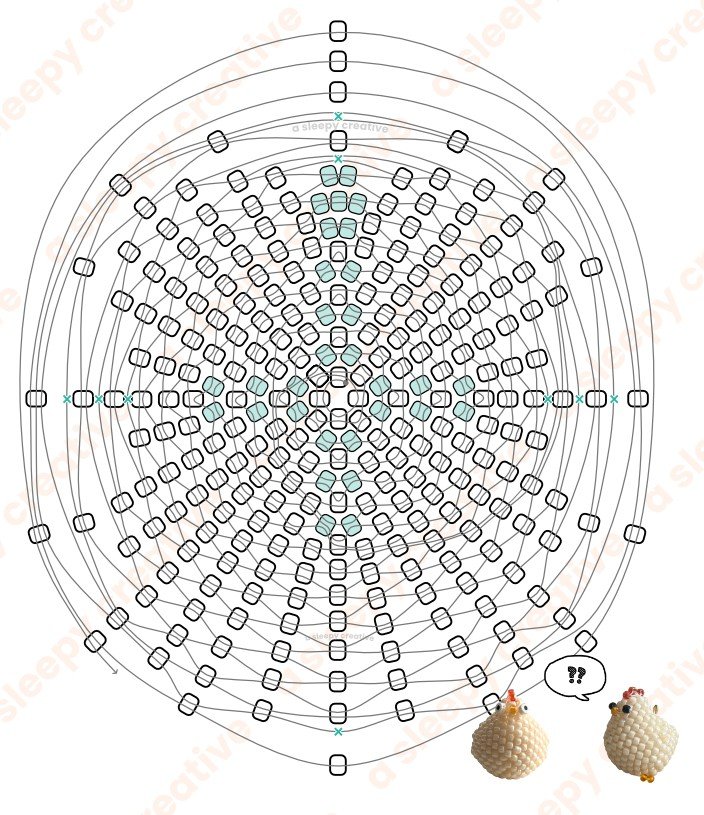
• is the starting point of the pattern (located at the center) and → is the end.
The beads colored in turquoise show the increases or spots where the pattern differ from regular circular peyote stitch round.
The “x” on the diagram show the spots where we make decreases. Keep them in mind, as they will be essential to shape your chicken!
Instructions Row by Row
Row 1
4 beads • 1-1-1-1
Foundation start, string four beads on your thread and make a knot, forming a diamond shape with your 4 beads.
Row 2
4 beads • 1-1-1-1
Regular circular peyote stitch round, adding one bead in between each bead of last row
Row 3
8 beads • 2-2-2-2
Increase
Row 4 & 5
8 beads • 1-1-1-1-1-1-1-1
Regular round
Row 6
12 beads • 1-2-1-2-1-2-1-2
Increase
Row 7 & 8
12 beads • 1-1-1-1-1-1-1-1-1-1-1-1
Regular round
Row 9
16 beads • 2-1-1-2-1-1-2-1-1-2-1-1
Increase
Row 10 & 11
16 beads • 1-1-1-1-1-1-1-1-1-1-1-1-1-1-1-1
Regular round
Row 12
17 beads • 1-1-1-1-1-1-1-2-1-1-1-1-1-1-1-1
Single increase
Row 13
16 beads • 1-1-1-1-1-1-1-1-1-1-1-1-1-1-1-1
Regular round – skip increase
Row 14
18 beads • 1-1-1-1-1-1-3-1-1-1-1-1-1-1-1-1
Single increase
Row 15
16 beads • 1-1-1-1-1-1-1-1-1-1-1-1-1-1-1-1
Regular round – skip increase
Row 16
15 beads • 1-0-1-1-1-2-1-1-1-0-1-1-1-1-1-1
Single increase, 2 decreases
Row 17
14 beads • 1-1-1-1-0-1-1-1-1-1-1-1-1-1-1
Regular round, skipping twins
Row 18
13 beads • 1-1-1-0-1-1-1-1-1-1-1-1-1-1
Single decrease
Row 19
10 beads • 1-1-0-1-1-0-1-1-1-1-1-1-0
Three decreases
Row 20 & 21
10 beads • 1-1-1-1-1-1-1-1-1-1
Regular round
Row 22
7 beads • 0-1-0-1-1-1-1-1-0-1
Three decreases
Row 23
7 beads • 1-1-1-1-1-1-1
Regular round
Row 24
5 beads • 1-1-0-1-1-1
One decrease – check pattern for the position of the last bead added during this round
Row 25
4 beads • 1-1-1-1
Regular round – check pattern for the position of the last bead added during this round
Chicken Pattern – Comb
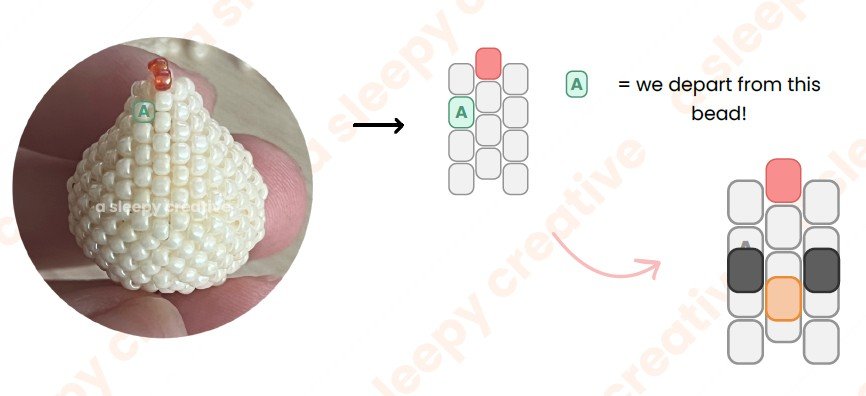
Now that the chicken body is done, let’s make the comb. Place yourself at bead A. You’ll need to loop through that bead multiple times to create a comb with 3 red beads.
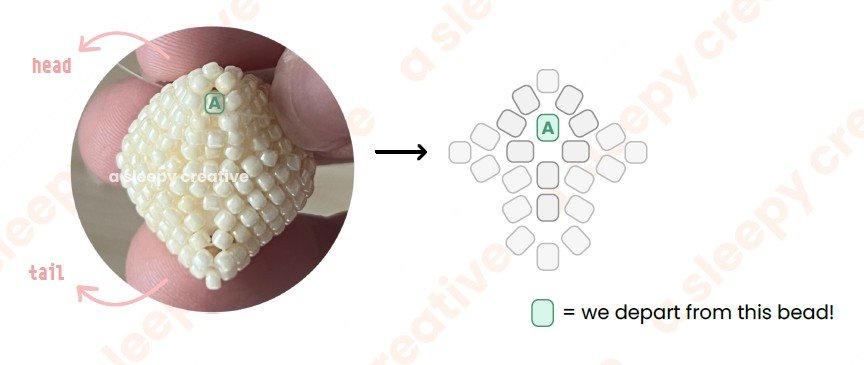
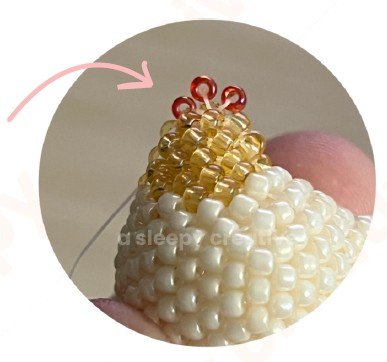
Add the three red beads one by one. Add one, then loop through the surrounding beads and A to secure it. Then do the same for the other two beads until you have three red beads on top of your chicken’s head:
Chicken Pattern – Eyes & Beak
Onto the last part for this free version of the pattern, the eyes and beak. We’ll just need three beads for this: two black beads and one orange bead – or the color of your choice for your features.
Locate bead A and to position the features correctly. To secure them onto the chicken, you’ll need to loop through bead A and the ones surrounding it, and you should get this little face on your chicken:
If you want, you can optionally add a wattle on your chicken – I don’t do it, because I prefer without. But if you want one, I would use a smaller red bead to add right under the beak, in the same way.
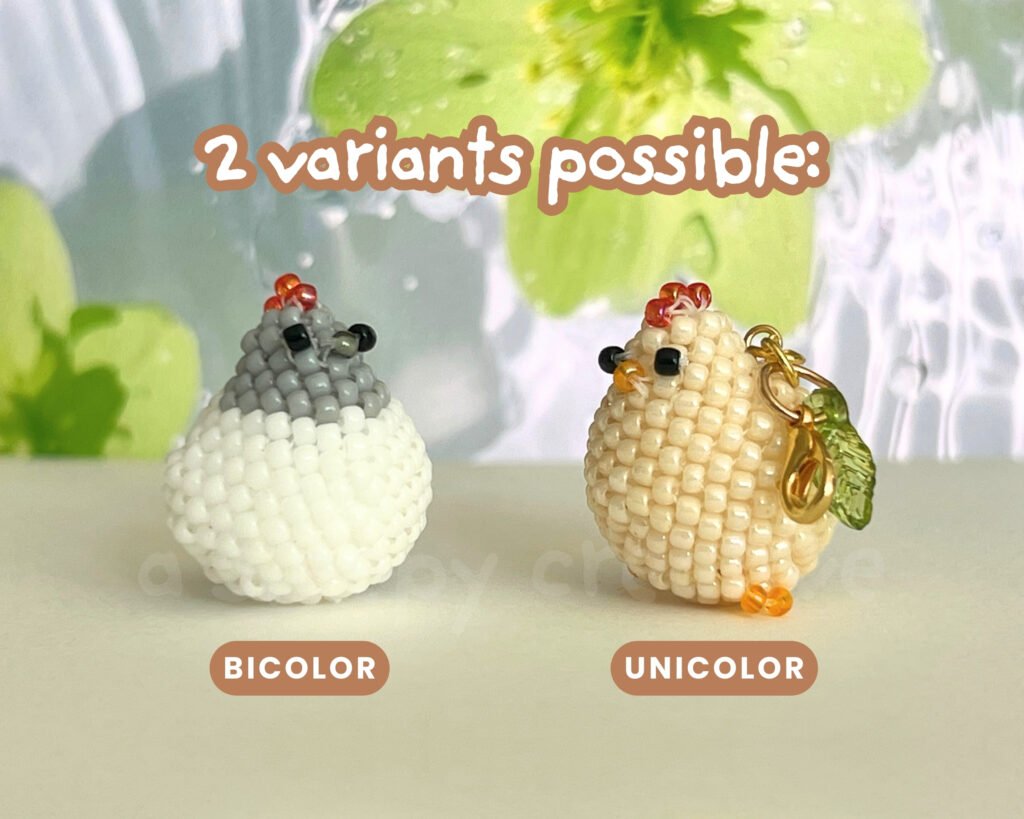
And if you want some more customization of your chicken, like the bicolor variant for example, you can check everything out in the pattern on Etsy.
And we’re done with our little chicken! You can easily turn it into a keychain, a phone charm or whatever you’d like to make it. ♥